Recommended Tools & Consumables
No Recommended Tools & Consumables specified.
Hardware & Accessories
-
-
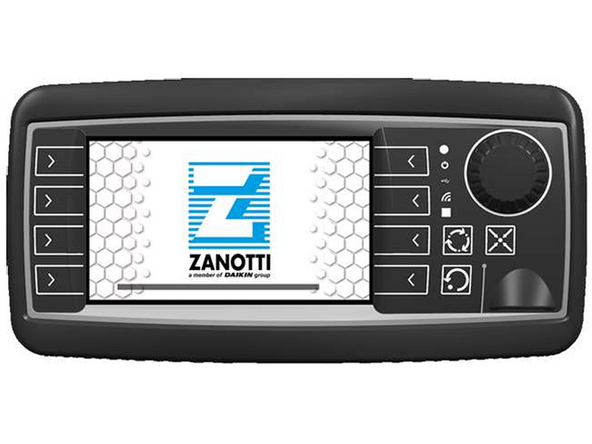
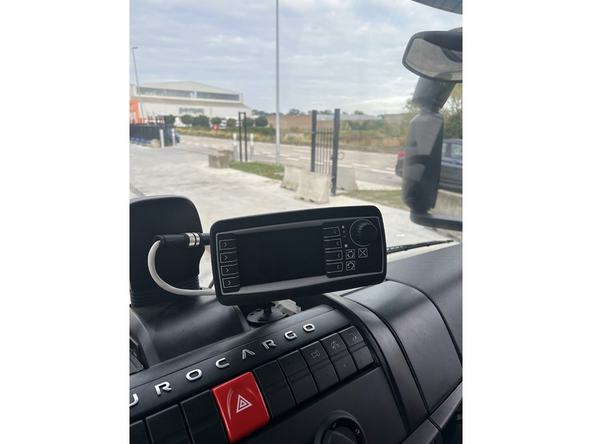
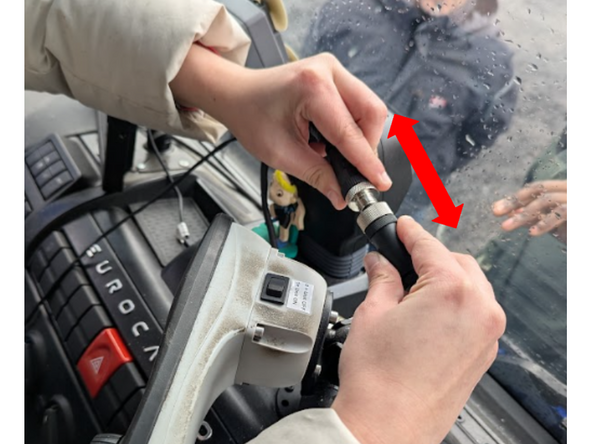
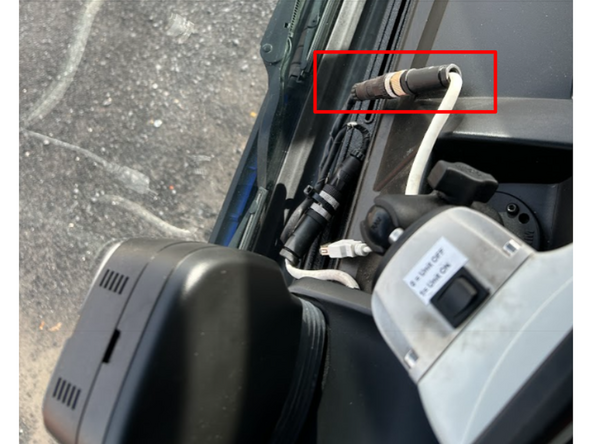
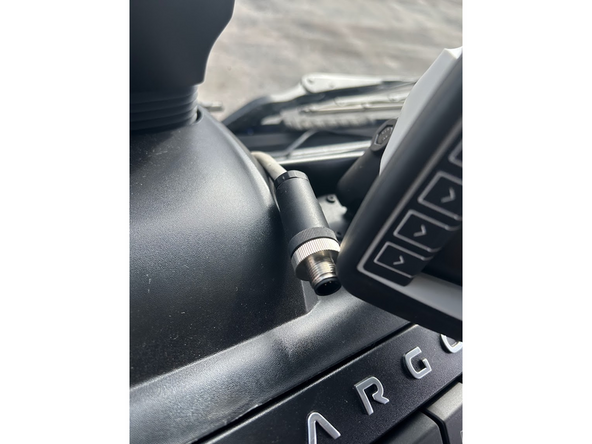
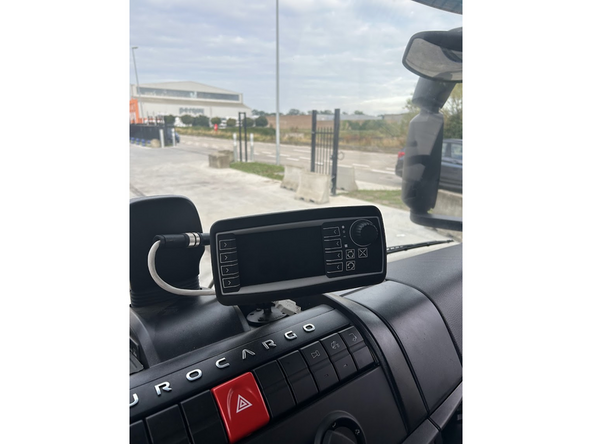
Find the in-cab controller located in the vehicle cabin.
-
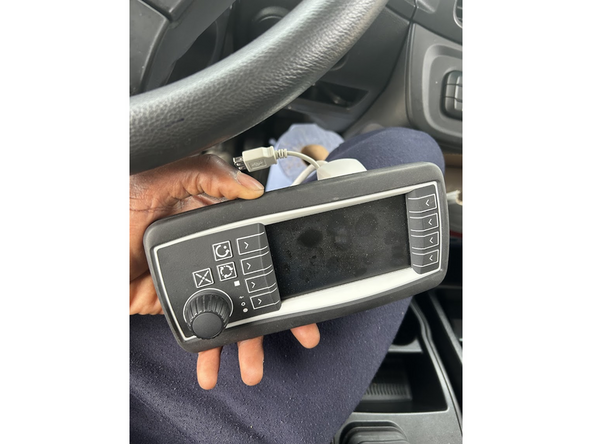
Remove it from its mechanical support, if needed.
-
-
-
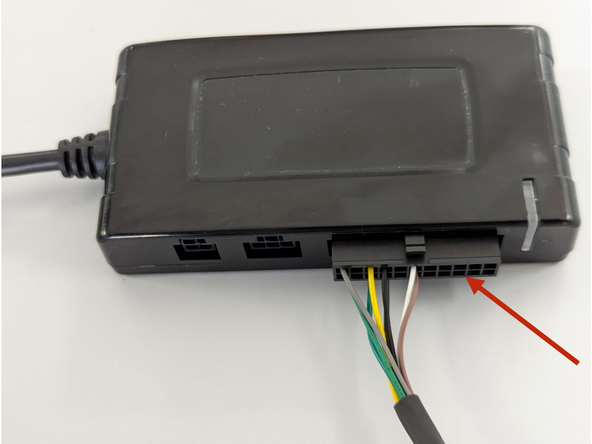
Connect the HRN-CCZAUNO to the IOX-COLD port C.
-
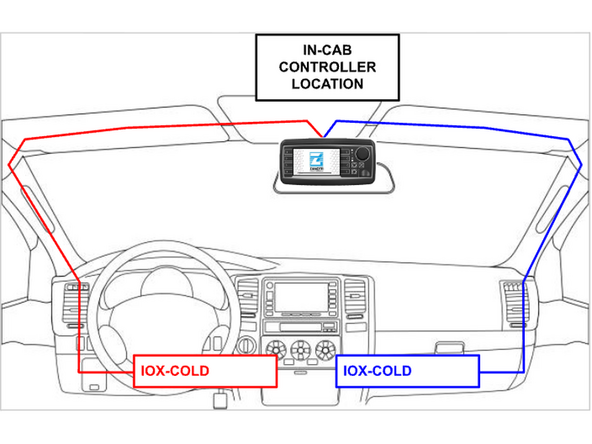
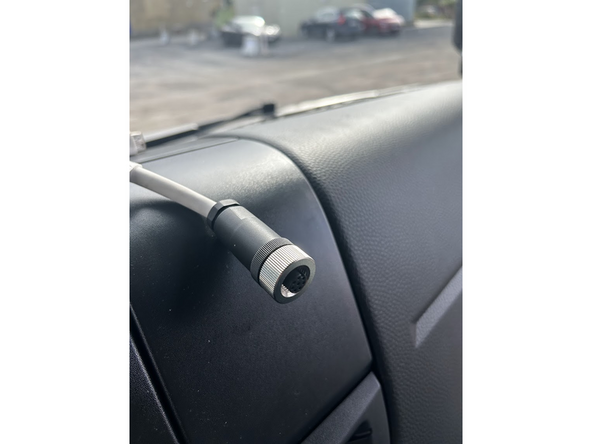
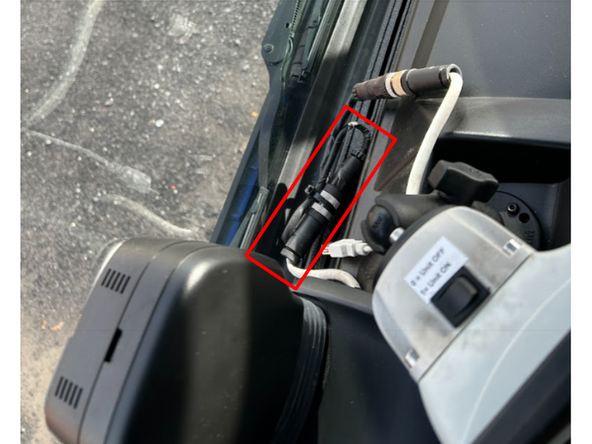
Route the HRN-CCZAUNO to the in cabin controller location
-
If the in-cab controller is located near the rear view mirror, route the HRN-CCZAUNO through the vehicle’s cabin columns (right or left, depending on where the IOX-COLD and GO devices will be installed and connected).
-
-
-
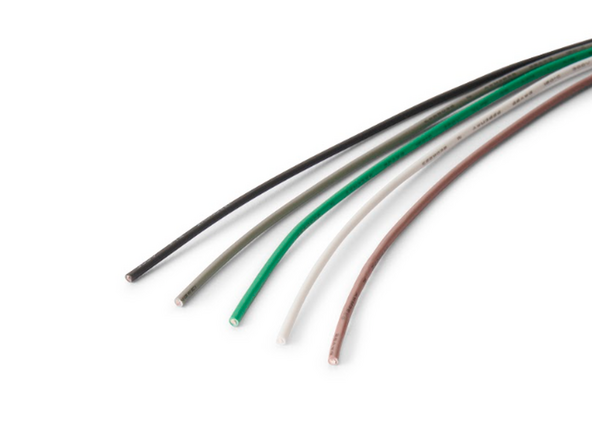
HRN-CCZAUNO contains loose wires which permit connecting the IOX-COLD to additional sensors such as 1-Wire temperature sensors or door sensors.
-
Refer to the Accessories category for installation instructions.
-
-
-
For more information please refer to the Professional Installation Guide.
-
-
-
Switch the vehicle ignition and the in-cab controller ON once the installation is complete to validate the installation.
-
IMPORTANT: The use of the complete MyInstall tool is mandatory for every installation to correctly configure the IOX-UREADER or IOX-COLD. If you do not do this, data will not be obtained correctly.
-
You need a secure MyAdmin login to use this tool. If you do not have one, refer to the Creating MyInstall Credentials section of the MyInstall user guide.
-
-
-
The IOX-COLD must be configured using MyInstall before verifying the LED status.
-
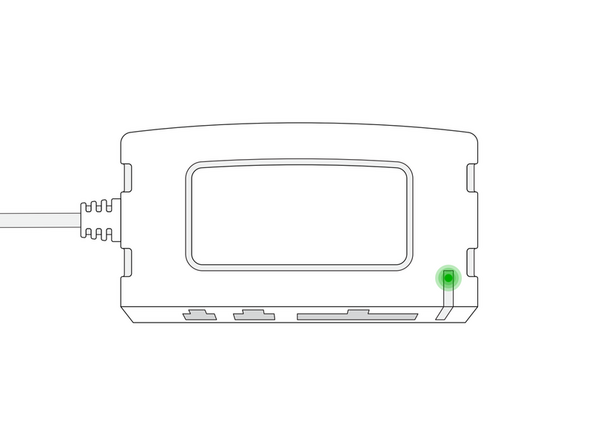
The IOX-COLD device has a status LED that produces a series of blinks followed by a pause.
-
Ensure that the refrigeration unit's START / RUN switch is ON when checking the LED status.
-
Green LED — Solid LED - The IOX-COLD is configured correctly and communicating with the refrigeration unit.
-
If the LED is off, or if you see a different light sequence, refer to the Troubleshooting section of the IOX-COLD page for troubleshooting steps.
-

Team
