
Recommended Tools & Consumables
Hardware & Accessories
-
-
Some installations are not straightforward and must be completed by an Authorized Installer to ensure a secure installation.
-
An unsecure device installation can cause poor electric and/or data connection that can lead to short circuits and fires or cause malfunctions of vehicle controls that can result in serious personal injury or significant damage to your vehicle.
-
Some examples requiring professional installation from an Authorized Installer are:
-
The OBD port location is such that the device could protrude or interfere when entering or exiting the vehicle or located so could be inadvertently kicked or bumped during vehicle operation. The device isn't fully secured and so may be able to vibrate loose or get kicked or knocked. An electrical harness or additional wiring is required.
-
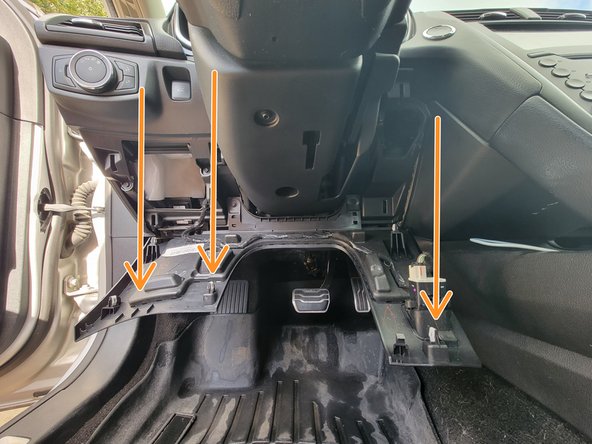
Vehicle mounting modifications are required to secure the device i.e. removing of panels, or the OBD connector has been deformed/damaged or there is any physical damage visible to the electrical wiring.
-
The device does not beep six times and power on when first installed. The installer questions their ability to complete a secure installation according to these instructions.
-
-
-
Do not attempt to install, reconfigure or remove any product from a vehicle while the vehicle is in motion or otherwise in operation. All installation, configuration or removal must be done only in stationary vehicles which are securely parked.
-
Attempting to service devices while the vehicle is in motion could result in malfunctions or accidents, leading to death or serious personal injury.
-
-
-
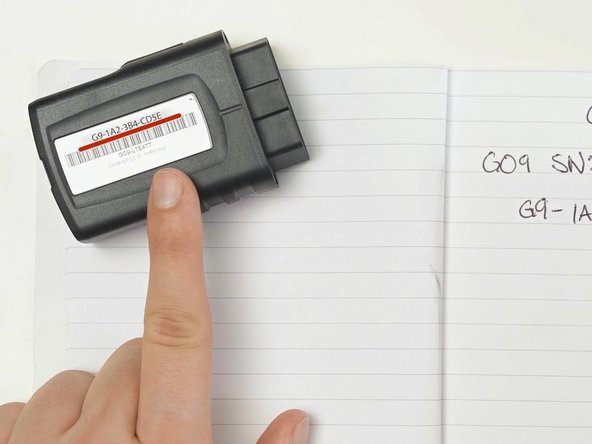
Record serial number
-
Found above barcode on device label
-
Record Odometer
-
Record Fleet Alias/Number/ID
-
This is what the vehicle will be identified as
-
-
-
Hold for instruction
-
-
-
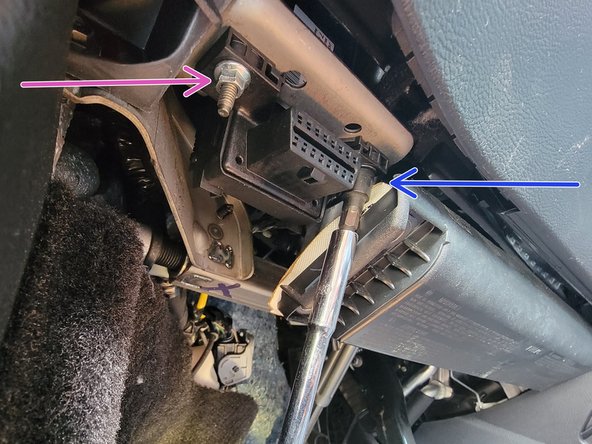
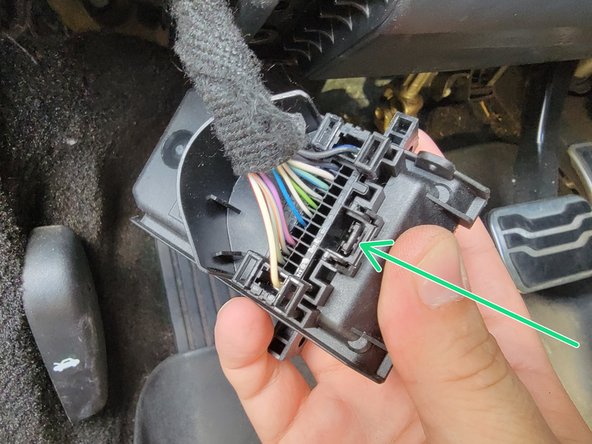
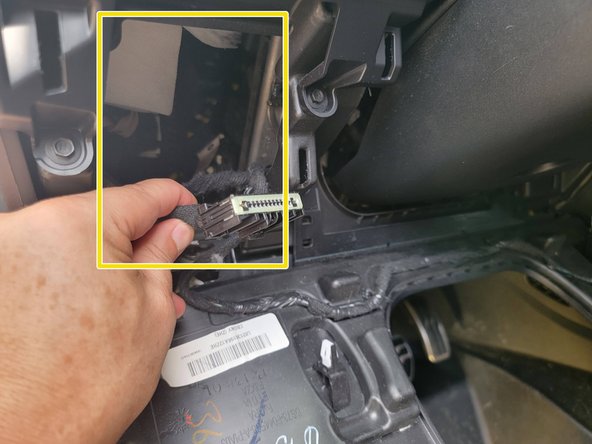
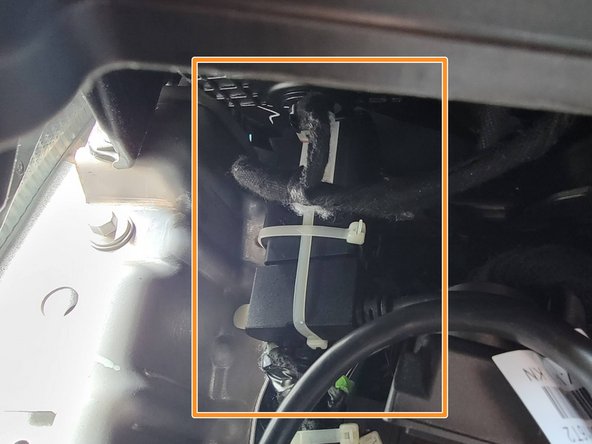
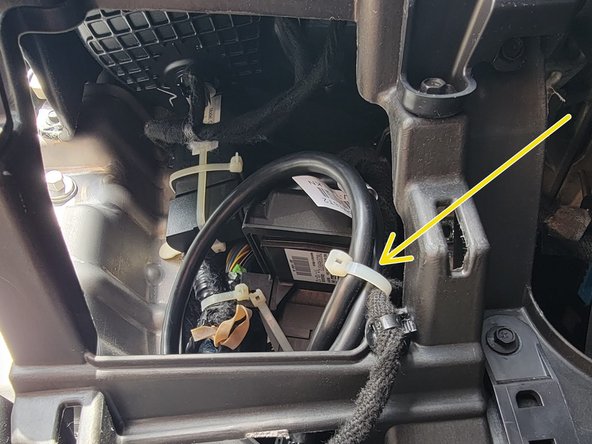
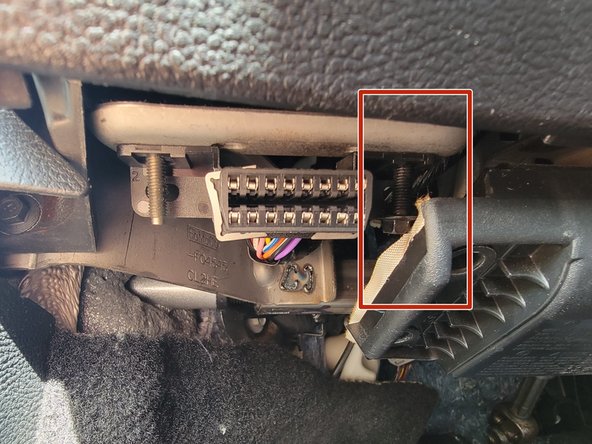
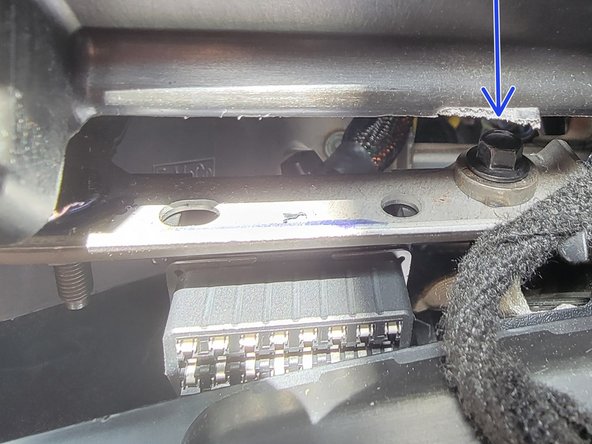
Locate the Ford SDLM (OBDII connector)
-
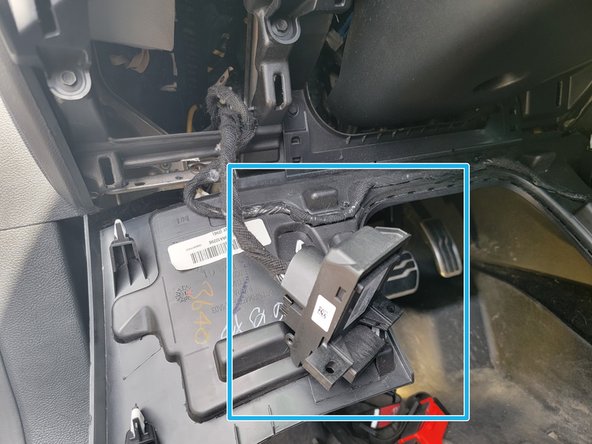
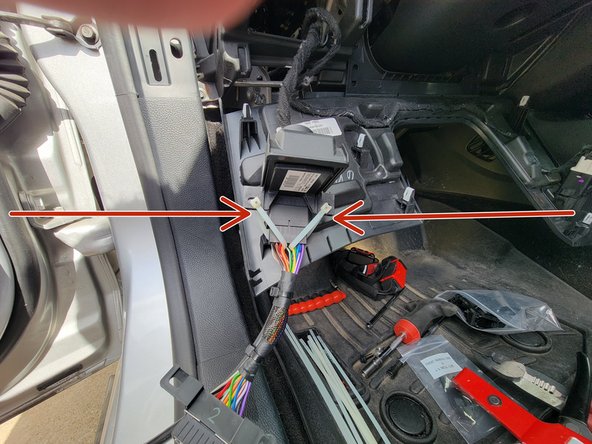
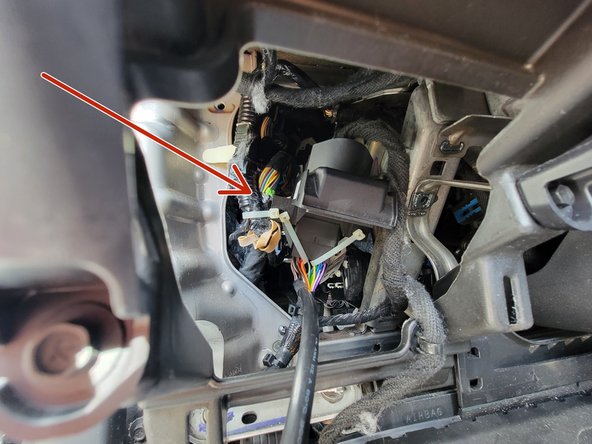
Remove the 8mm nut using a deep/semi deep socket
-
Remove the 8mm screw using a nutdriver
-
Due to clearance with the knee bolster air bag it can be difficult to use a socket to remove.
-
See FSB here for detail
-
-
-
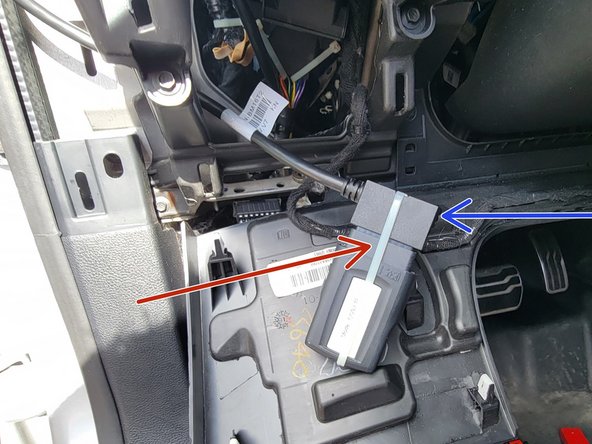
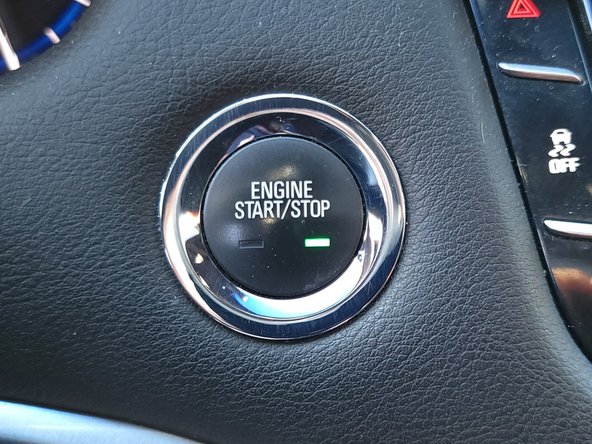
Vehicle must be running
-
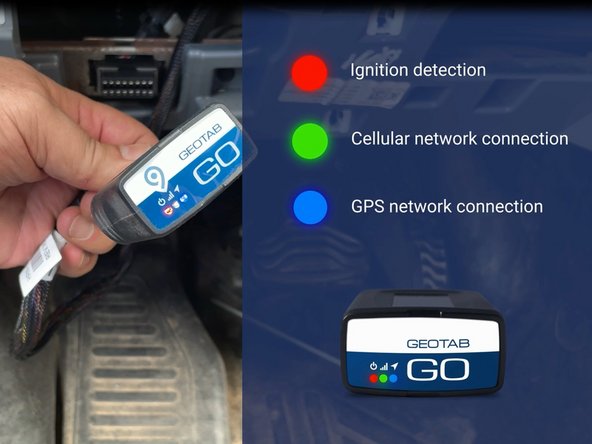
Verify LED pattern
-
The device emits 2 quick beeps every 60 seconds during set-up. Once all three LEDs turn solid and you hear 10 quick beeps the device should be reporting.
-
-
-
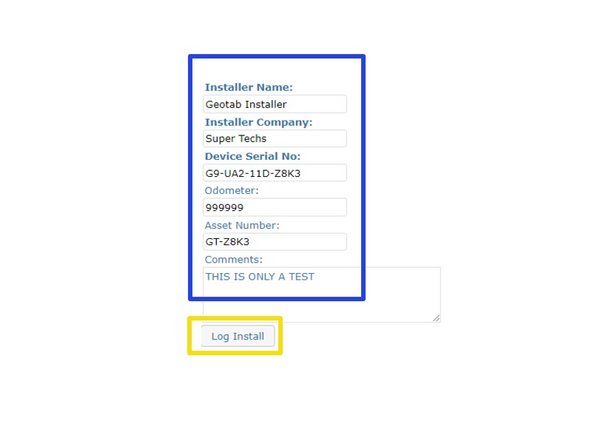
Navigate to installmygps
-
If you have an installer MyAdmin account, use the link as directed
-
Enter info collected
-
Select Log Install
-
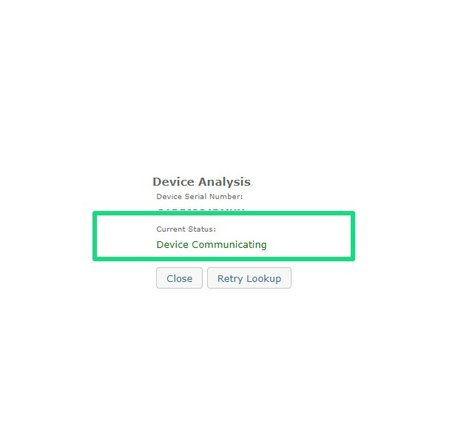
Verify device is communicating
-
If device is not communicating please refer to this <trouble shooting guide>TBD
-
-
-
For the latest version of the Limitations of Use, please visit: http://goo.gl/k6Fp0w
-
Your in-vehicle devices must be kept clear of debris, water and other environmental contaminants. Failure to do so may result in units malfunctioning or short-circuiting, that can lead to a fire hazard and cause loss or serious injury.
-
Do not attempt to remove the devices from the vehicle in which they are originally installed for installation in another vehicle.
-
Not all vehicles share compatibility, and doing so may result in unexpected interactions with your vehicle, including sudden loss of power or shutdown of the vehicle’s engine while in operation or cause your vehicle to operate poorly or erratically and cause serious injury and/or vehicle damage.
-
This product does not contain any user-serviceable parts. Configuration, servicing, and repairs must only be made by an authorized reseller or installer. Unauthorized servicing of these products will void your product warranty.
-
The simplified EU declaration of conformity referred to in Article 10(9) shall be provided as follows:
-
Hereby, Geotab (Address: 2440 Winston Park Drive, Oakville, Ontario L6H 7V2, Canada, Phone number: 1 (877) 436-8221) declares that the radio equipment type ‘telematics device’ is in compliance with Directive 2014/53/EU. The full text of the EU declaration of conformity is available here.
-


Team

Authors: Field Service Install Member of Authors: Field Service Install
2 Members
10 Guides authored