
Recommended Tools & Consumables
Hardware & Accessories
-
-
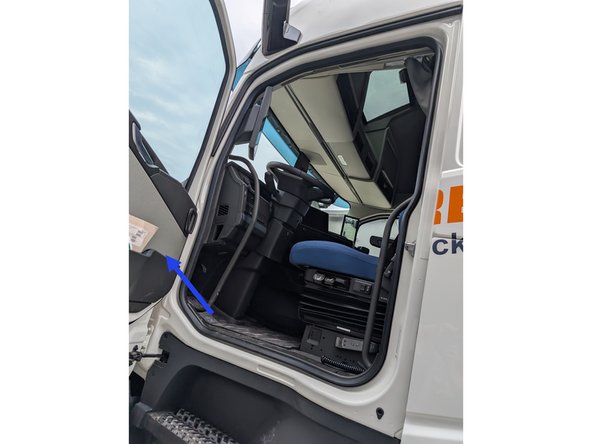
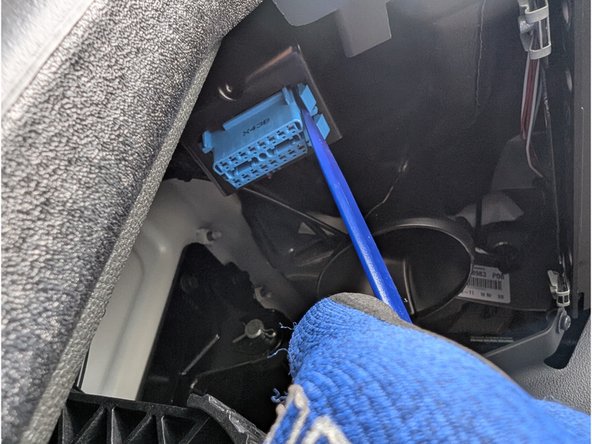
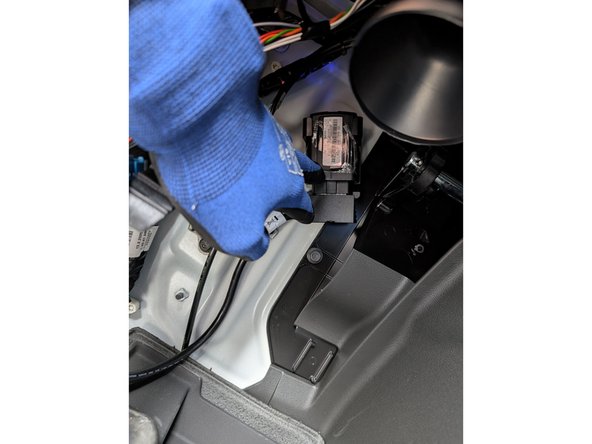
The OBD II Port is situated on the driver's left footwell.
-
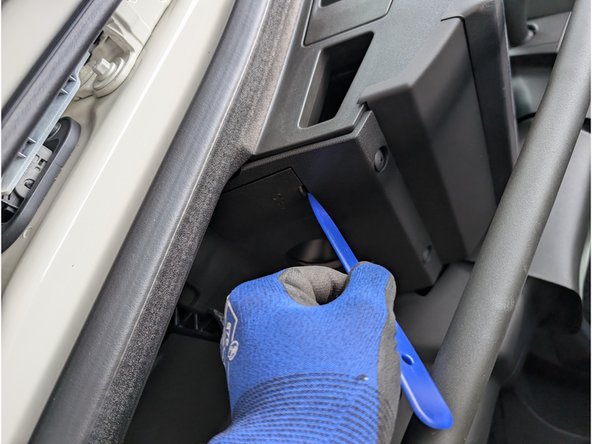
To gain access to the port remove the cover.
-
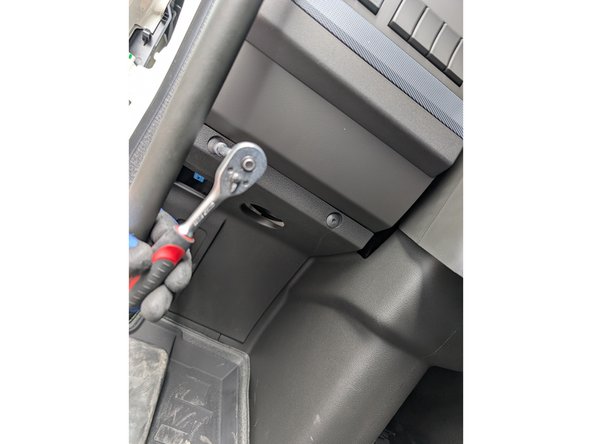
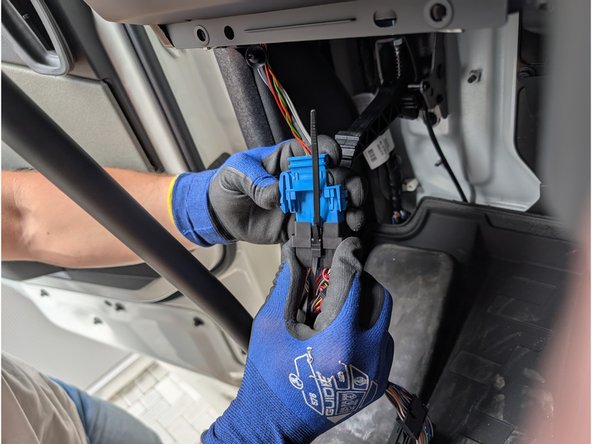
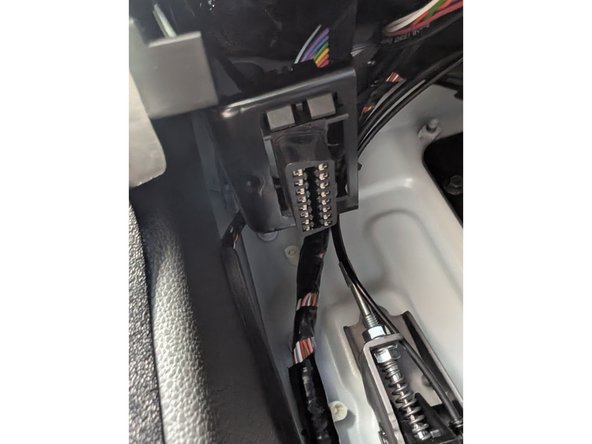
Remove the two screws of the left footwell panel.
-
A plastic trim tool is recommended for this step.
-
Careful! There are plastic alignment pins behind that panel.
-
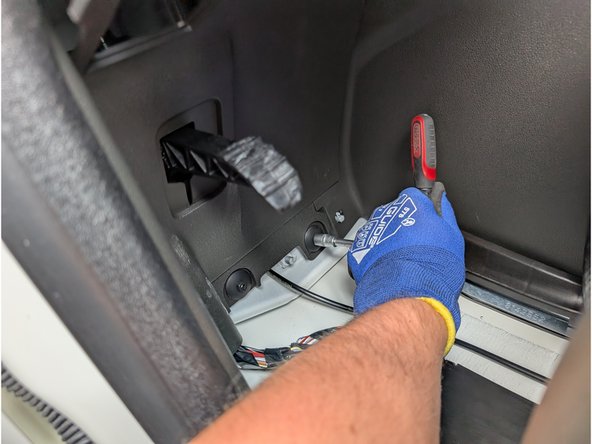

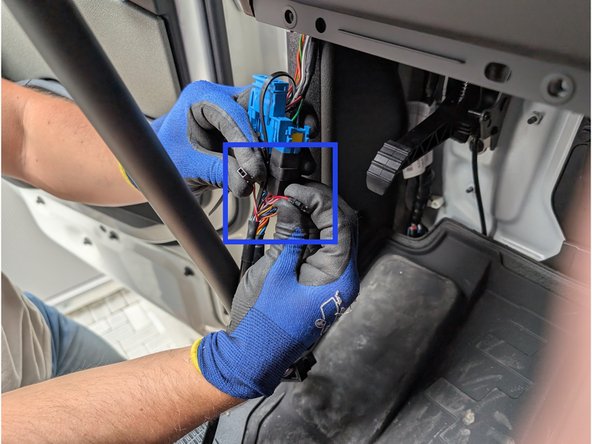
Almost done!
Finish Line

Team

Authors: Field Service Install Member of Authors: Field Service Install
2 Members
10 Guides authored