Recommended Tools & Consumables
No Recommended Tools & Consumables specified.
Hardware & Accessories
-
-
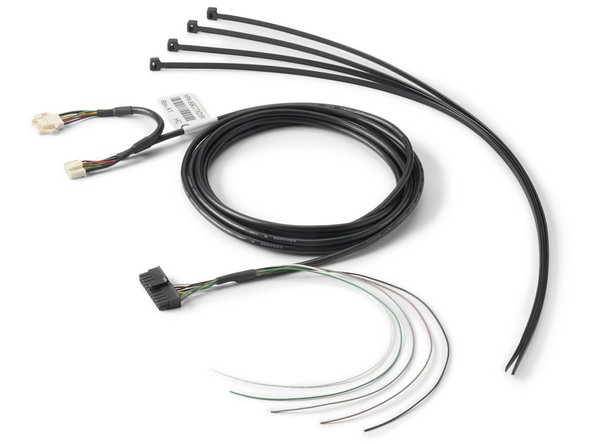
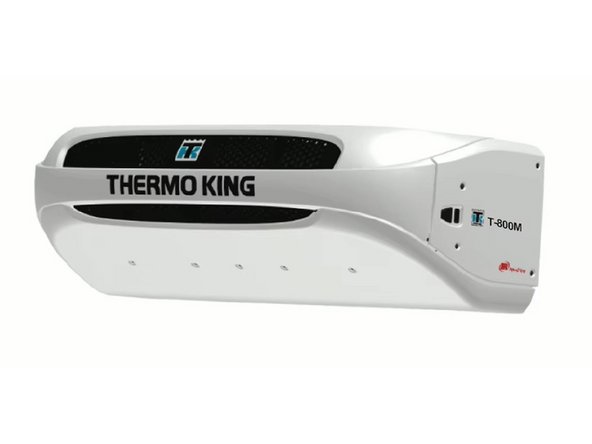
The ThermoKing TSR-2 / TSR-3 controller models requires the HRN-CCTKTSR harness.
-
-
-
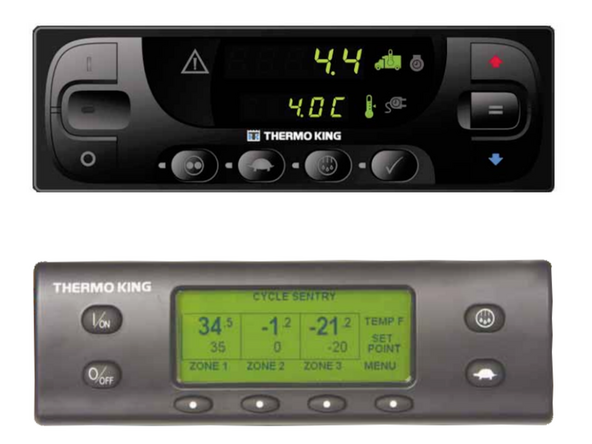
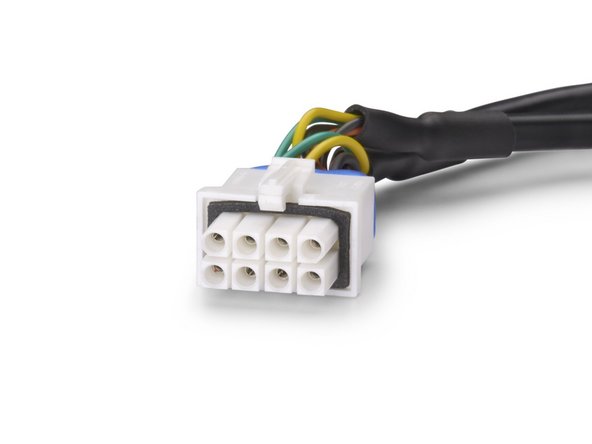
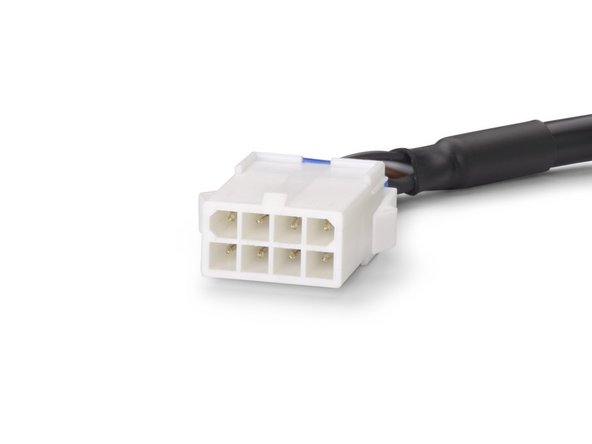
If the unit’s in-cabin controller contains the one of the following control units with an 8-pin connector at the back, follow the Inside Cab Connection instructions.
-
If the control unit does not have a 8-pin connector at the back, follow the Outside Cab Connection instructions.
-
-
-
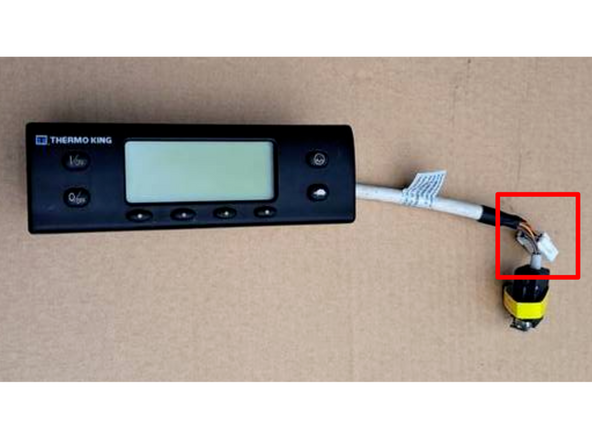
Locate the refrigeration unit controller inside the cab of the vehicle.
-
You may need to unmount the controller to gain access to the harness at the back.
-
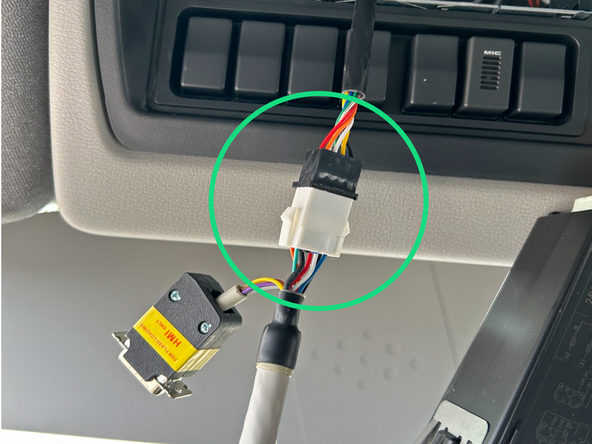
Unplug the in-cabin controller from its original vehicle connected harness.
-
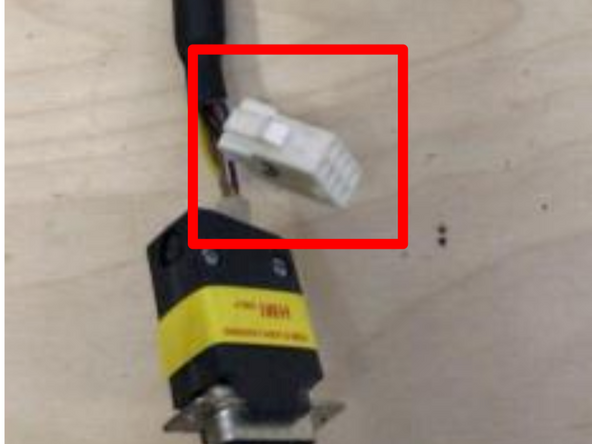
Connect the white 8-pin male connector from the HRN-CCTKTSR to the in-cab controller.
-
Connect the white 8-pin female connector from the HRN-CCTKTSR to the original vehicle harness that was disconnected.
-
Ensure the connection is secure and locked into place.
-
-
-
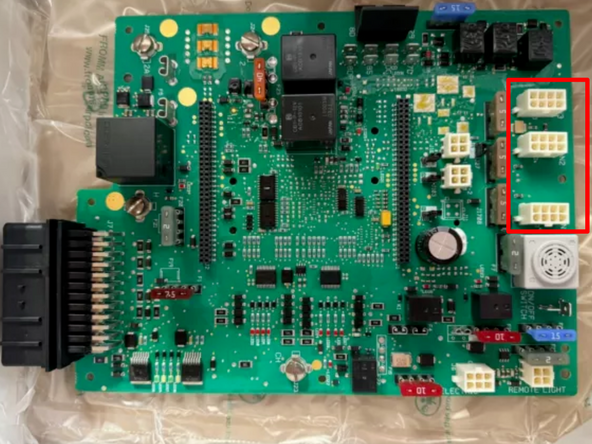
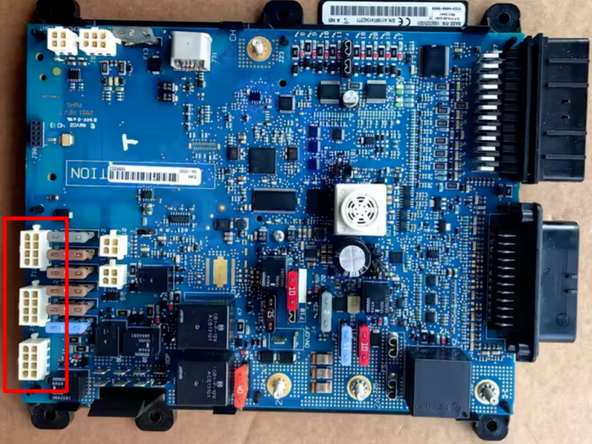
Connect the male end of the HRN-CCTKTSR harness to one of the following locations on the controller board.
-
If all of the locations mentioned below are already populated, disconnect one of the connectors and plug it into the female end of the HRN-CCTKTSR harness.
-
-
-
TSR-2 Controllers: J12 (CAN1), J13 (CAN2) or J14 (CAN3)
-
-
-
TSR-3 Controllers: J12 (CAN1), J13 (CAN2) or J14 (CAN3)
-
-
-
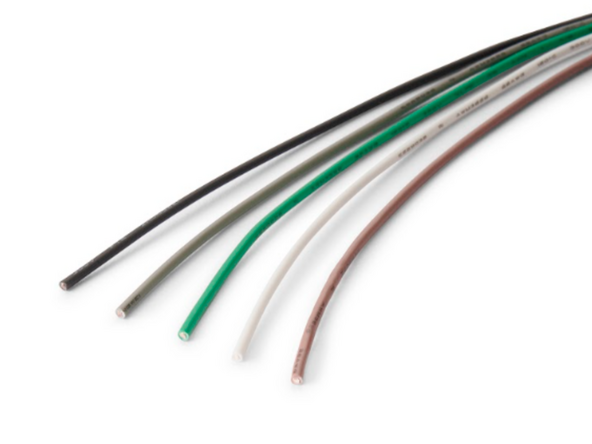
The HRN-CCTKTSR contains loose wires which allow connecting the IOX-COLD to additional sensors such as 1-Wire temperature sensors or door sensors.
-
Refer to the Accessories category for installation instructions.
-
-
-
For more information please refer to this document.
-