
-
-
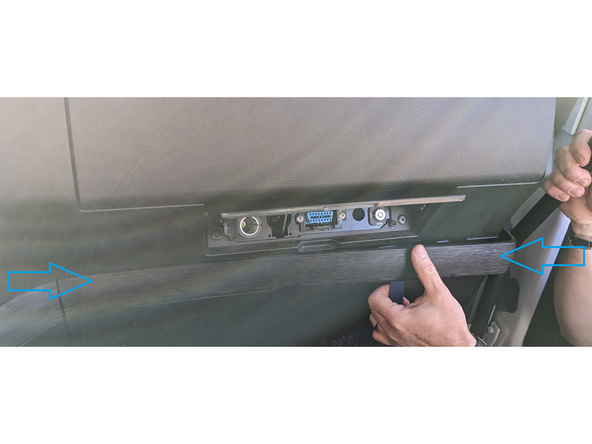
Remove the cover in order to access the screws behind.
-
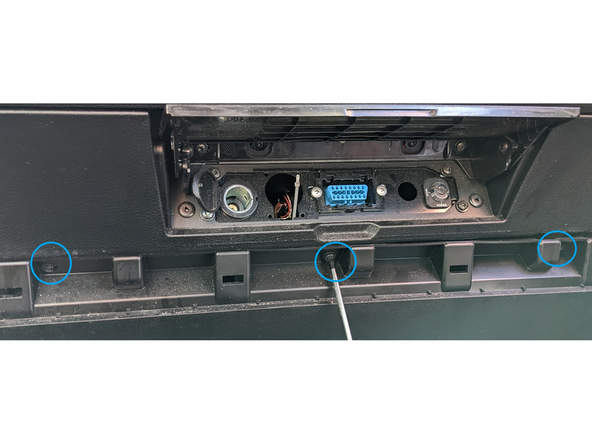
Use a size T20 Torx-driver to remove the three screws and remove the cover.
-
-
-
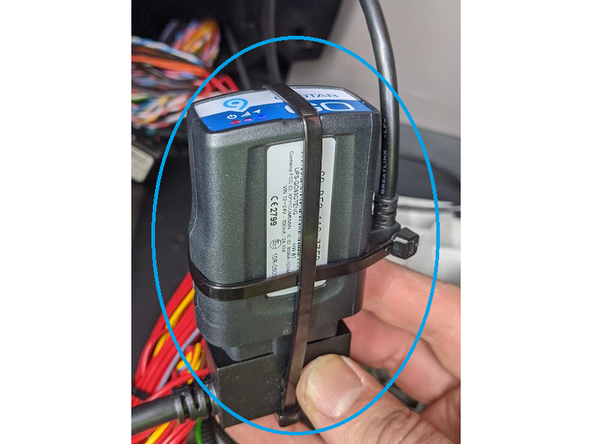
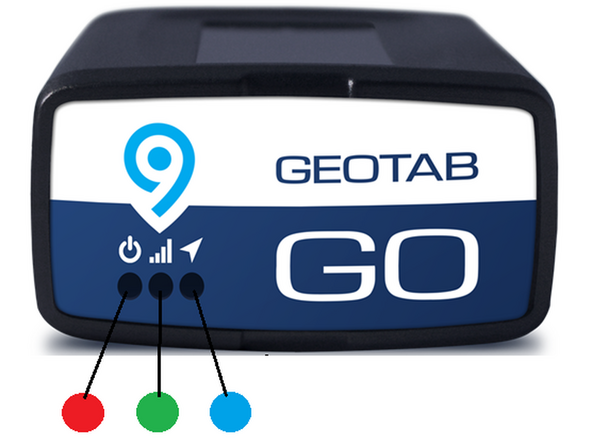
Start the engine, leaving it to idle. All three LED’s will flash red repeatedly - wait until all three LED’s are solid: Red (Power), Green (GSM) and Blue (GPS). These tell you the unit has connected successfully.
-
During this five-minute process the unit will also beep repeatedly as it updates to the latest settings.
-

Almost done!
Finish Line