-
-
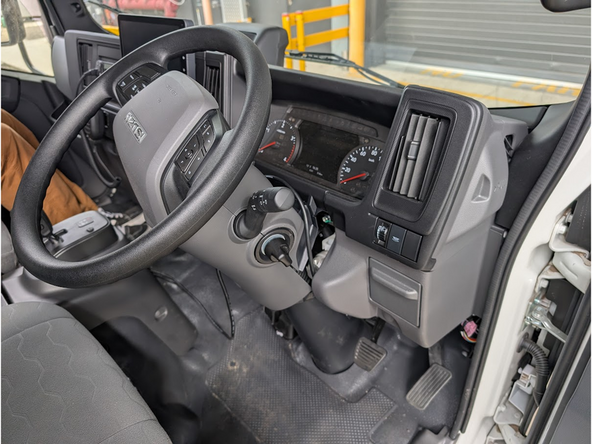
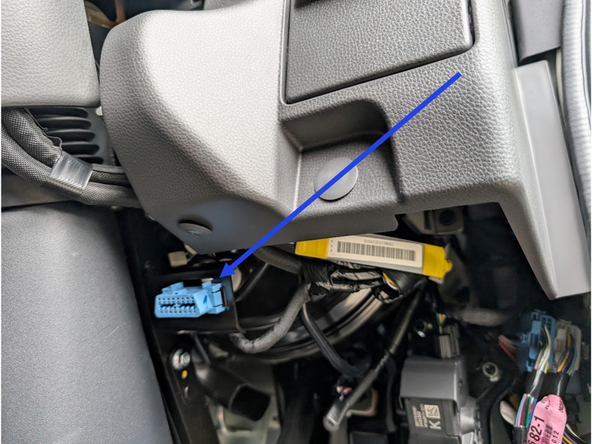
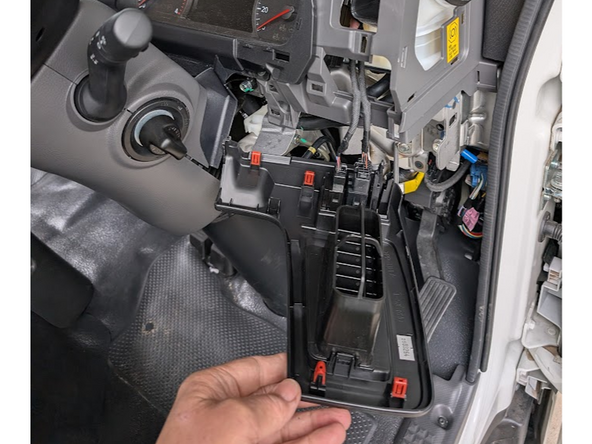
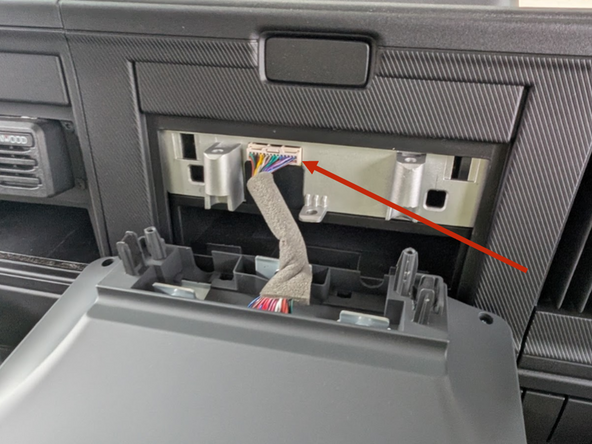
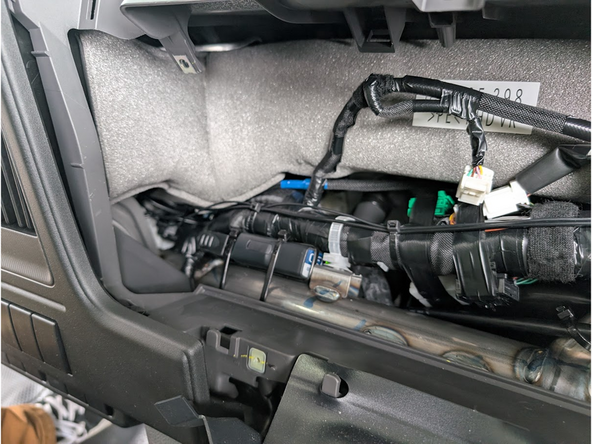
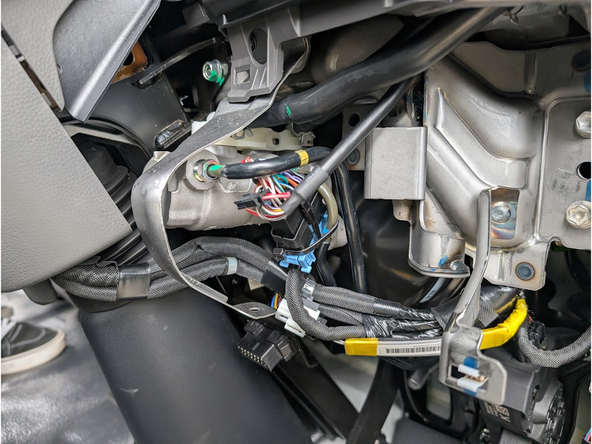
Locate the diagnostic port under the dash, to the right of the steering column.
-
-
-
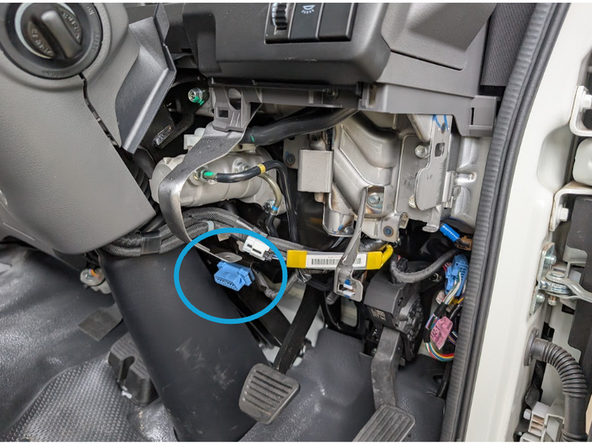
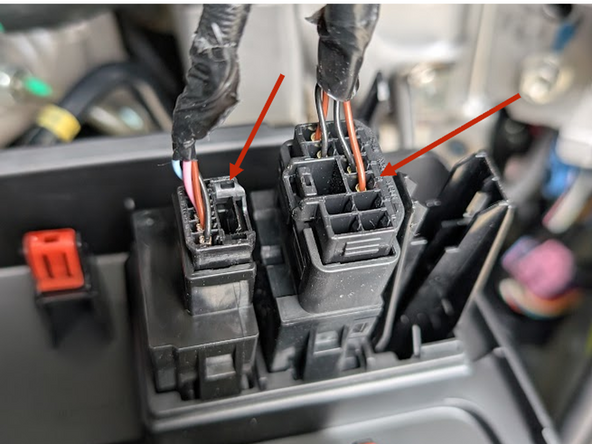
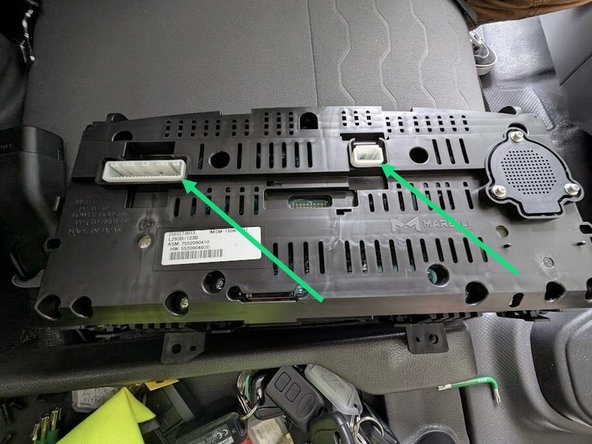
Feed the GO device portion of the harness up to the right-hand side of the space where the Instrument Cluster unit sits.
-
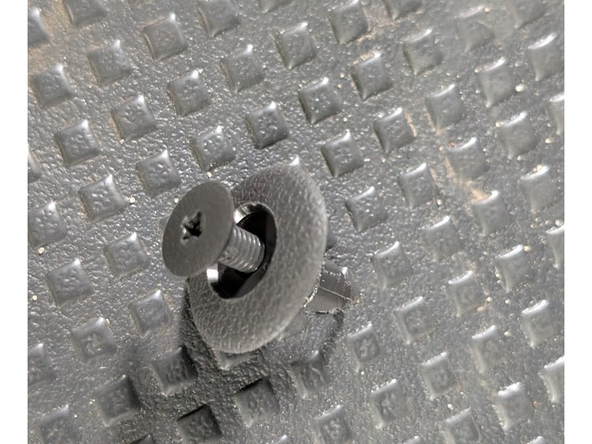
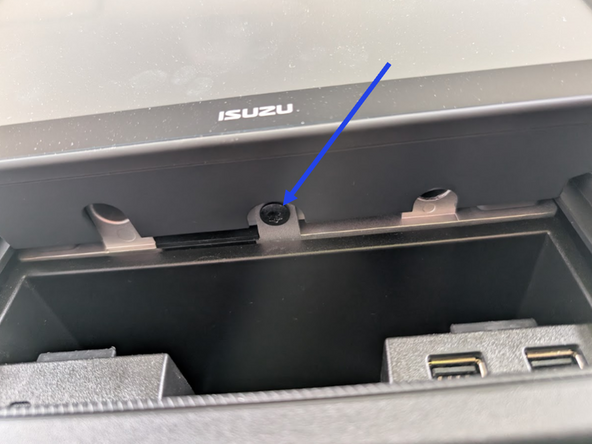
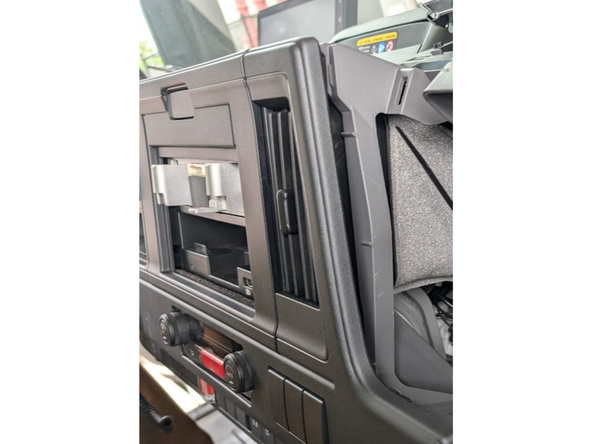
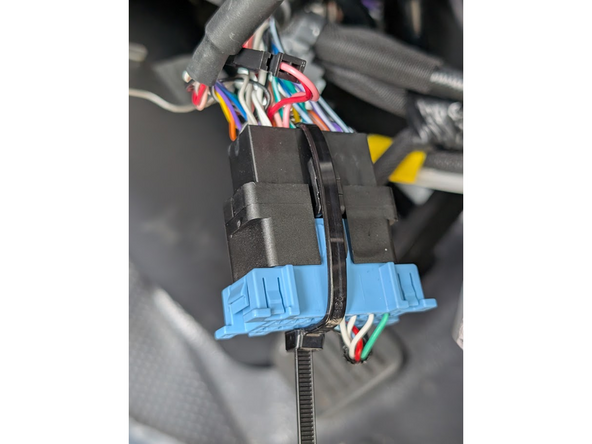
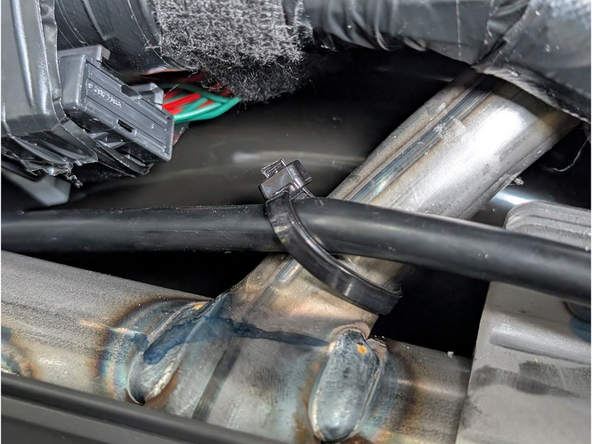
Mount the GO device securely in position using 2 cable ties as shown ensuring that the bottom (serial number side) is facing up.
-
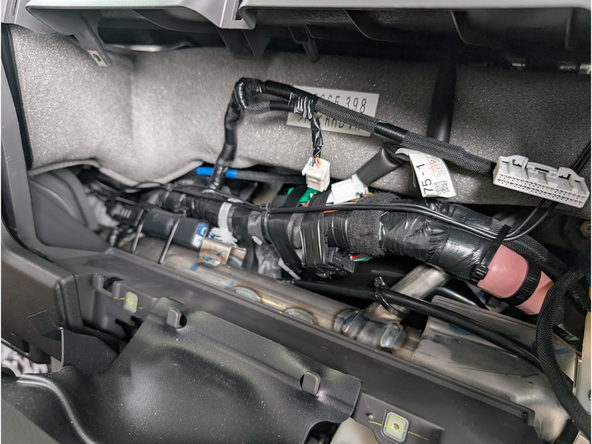
Ensure the GO device and harness cabling will not interfere with panel refitting.
-
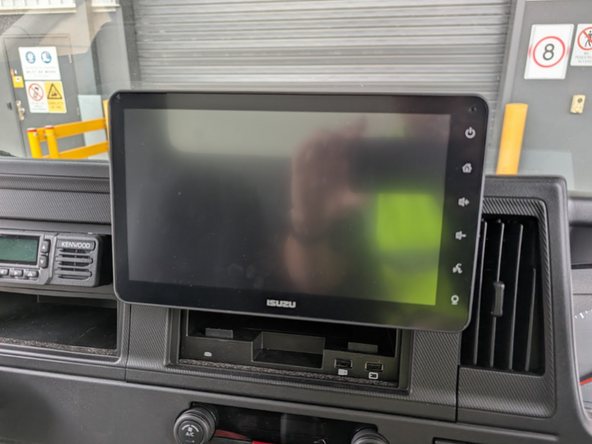


Almost done!
Finish Line