-
-
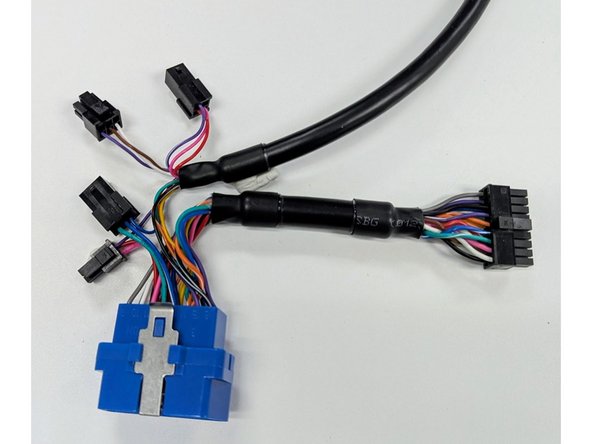
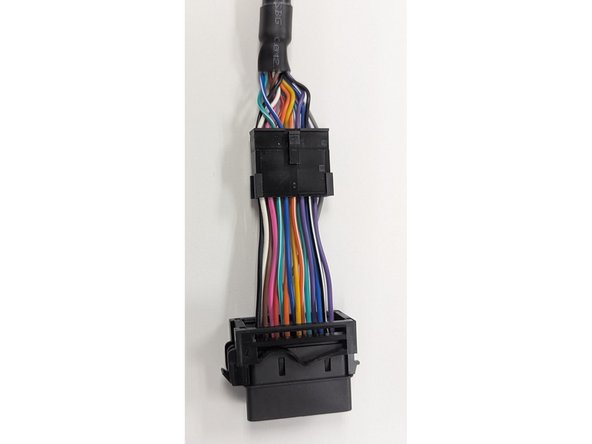
Prepare the HRN-GS16K2-HD harness.
-
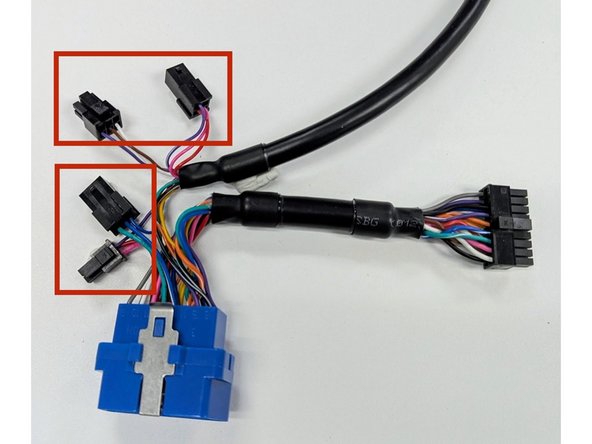
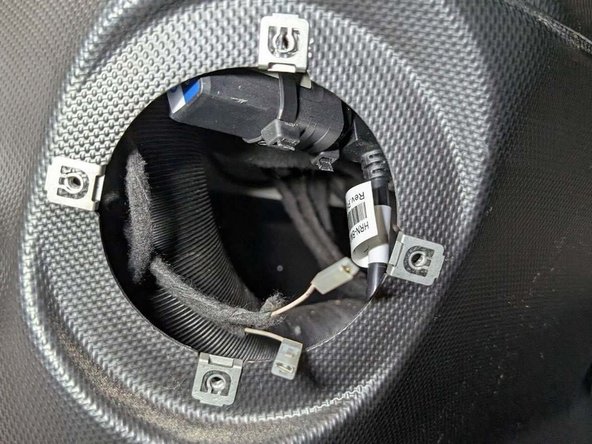
Ensure that BOTH small connectors on the harness are unplugged as shown in the image.
-
-
-
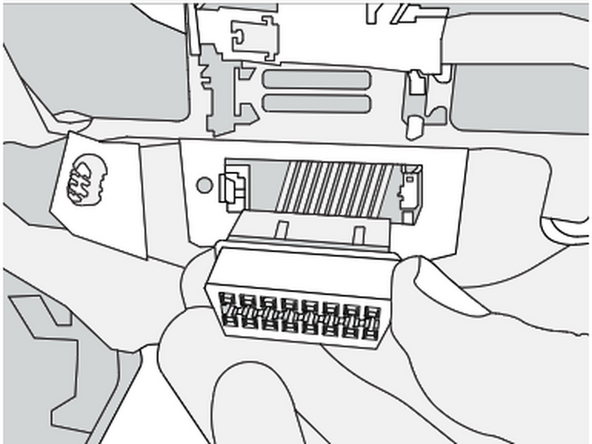
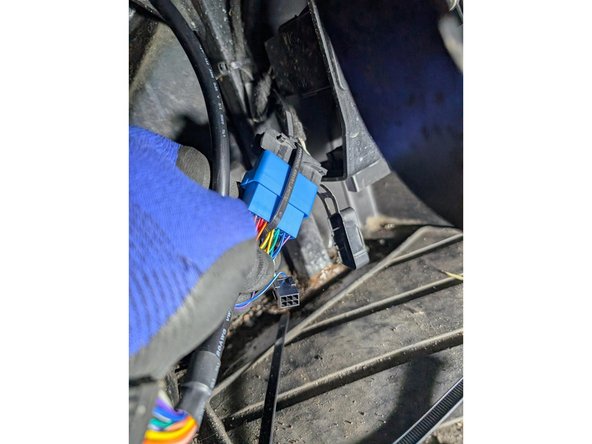
Plug the HRN-GS16K2-HD harness into the vehicles' diagnostic port.
-
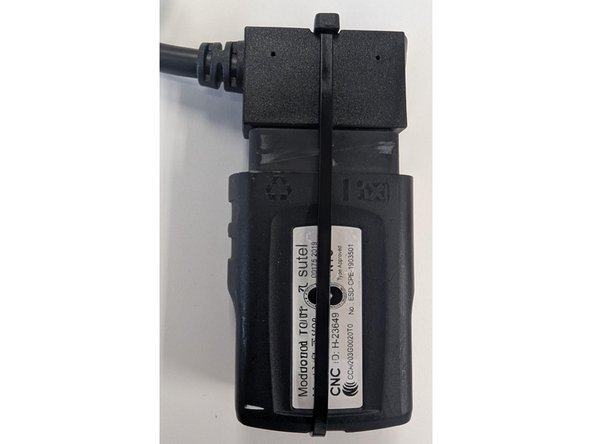
Secure the connection with a cable tie.
-
-
-
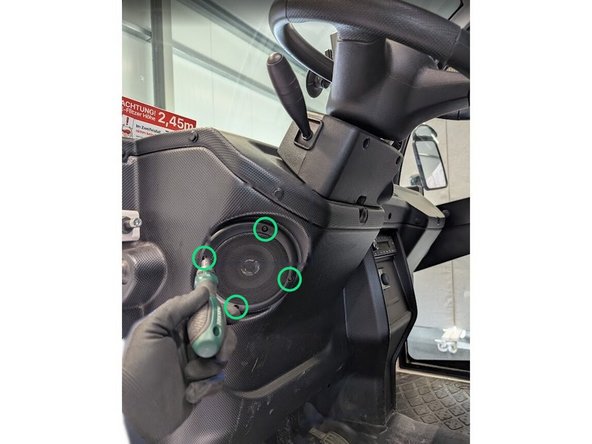
Remove the 4 screws holding the speaker in place, and remove the speaker.
-

Almost done!
Finish Line
