Recommended Tools & Consumables
Hardware & Accessories
-
-
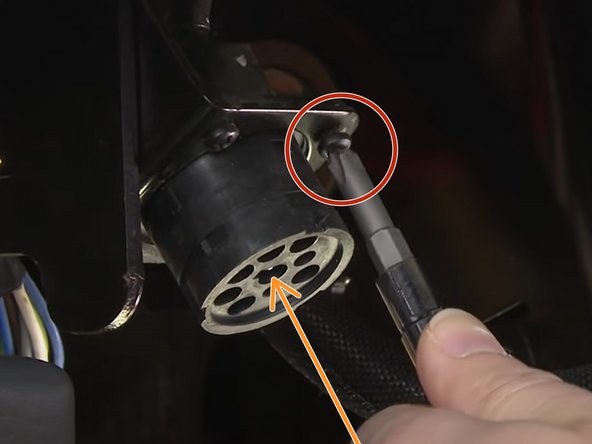
Locate and un-mount the vehicle diagnostic connector.
-
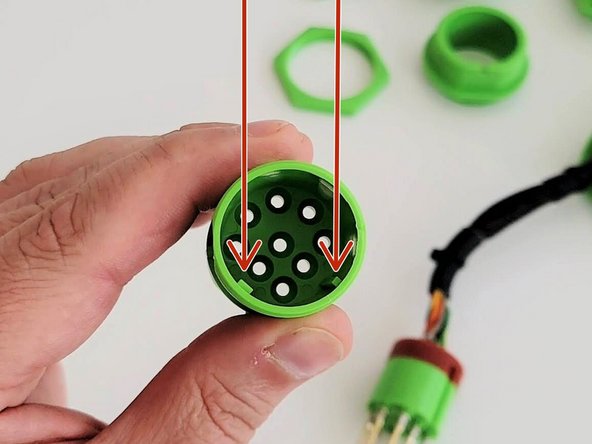
Match the diagnostic connector to one of the adapters included in the kit.
-
See here for adapter identification
-
-
-
If your vehicle does not use the pre-installed Adapter 1, use the steps below to replace with the required adapter.
-
There are no special tools needed to change the adapter.
-
-
-
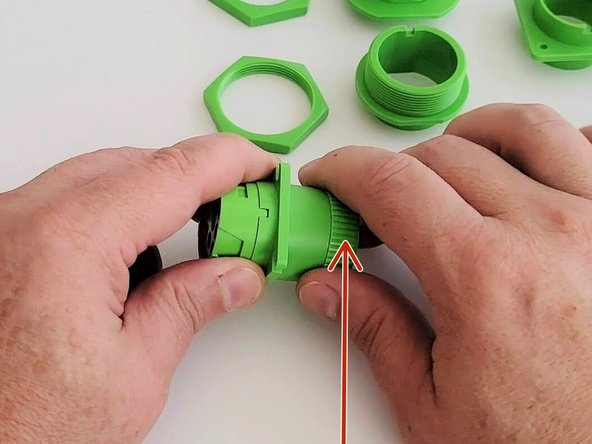
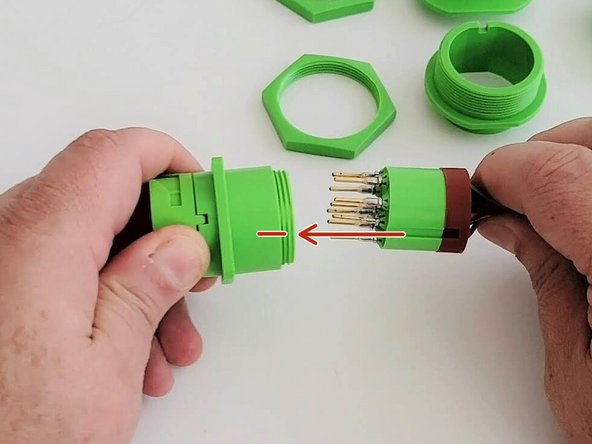
Remove the screw cap at the back of the connector and slide it slightly away from the connector.
-
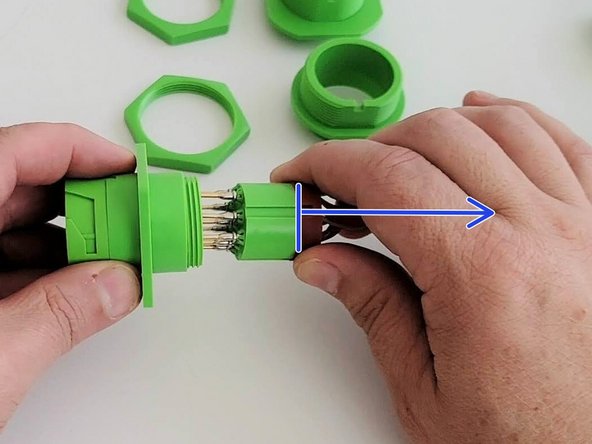
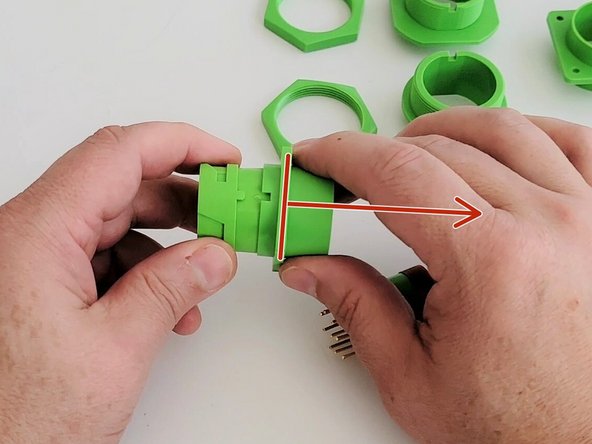
Pull the connector housing and adapter assembly away from the connector cartridge and harness.
-
-
-
-
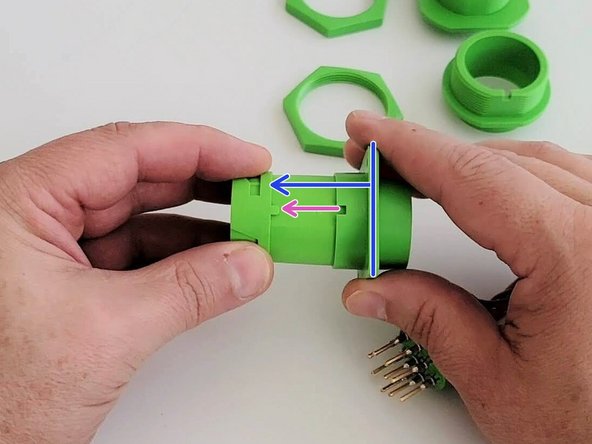
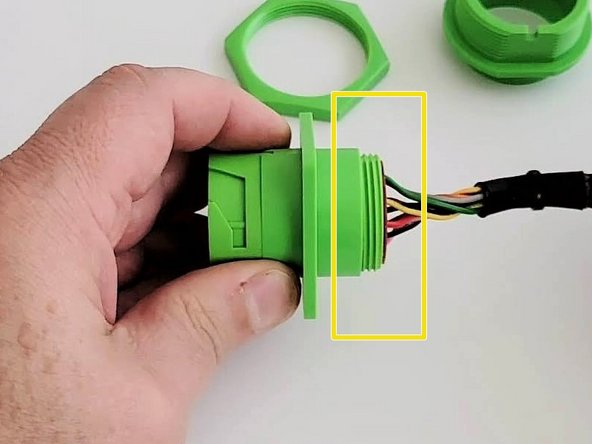
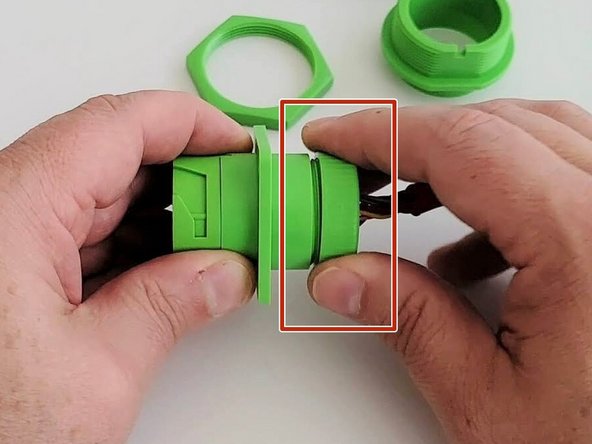
Align the keys & keyways and slide the connector cartridge into the connector housing.
-
-
-
-
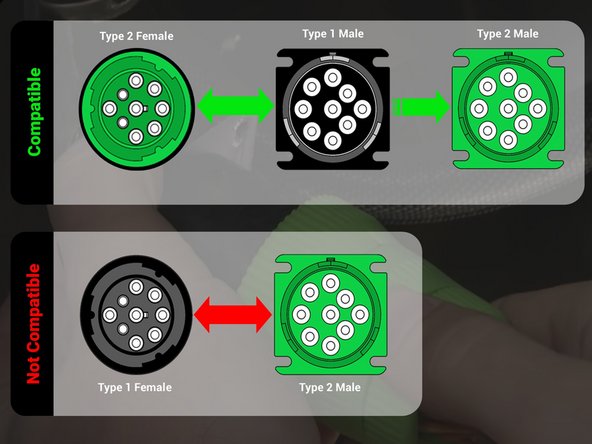
As seen in this compatibility graphic, the HRN-DM09T2 harness is backward compatible with Type 1 (black 9 pin) equipped vehicles as well as newer Type 2 (green).
-
Older Type 1 (black) diagnostic harnesses should not be reused with Type 2 (green) vehicles as they are not compatible.
-
-
-
Unfasten the OEM 9 pin connector from where its mounted.
-
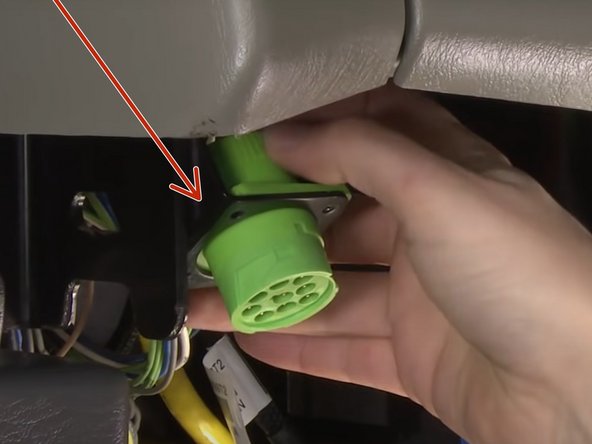
Pull connector and harness aside to make it available for connection later.
-
-
-
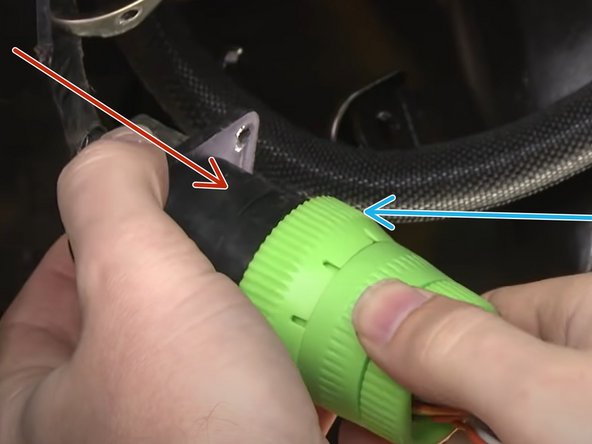
Connect the OEM 9 pin diagnostic connector into the HRN-DM09T2 harness.
-
Twist the locking collar to secure connection.
-
It is recommended to secure this connection with a cable tie if the collar does not lock adequately.
-
Secure this connection as up and out of view as possible using cable ties.
-
Ensure cable does not interfere with any moving parts.
-