Recommended Tools & Consumables
Hardware & Accessories
-
-
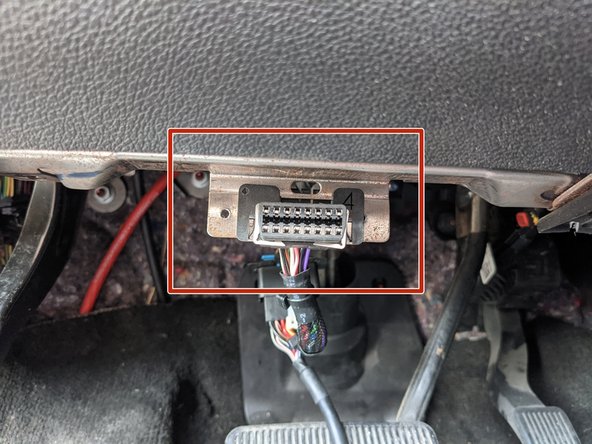
Locate & remove the OEM OBDII connector from its OEM location
-
Identify the adapter required for installation from the parts included in the kit.
-
See here for general identification
-
-
-
-
Install the adapter onto the connector housing
-
In most cases the groove should be visible once the adapter is completely seated.
-
Slide the metal clips into the groove to retain the assembly
-
If the groove is not visible the adapter is likely installed backwards.
-
-
-
Install the prepared T-harness connector from the first steps into the OEM location
-
Ensure cable does not interfere with any moving parts
-
Secure harness as needed with cable ties
-


