Introduction
The HRN-GS16K2, an OBDII T-harness kit with twelve mounting brackets, connects a Geotab® GO device to most light-duty and medium-duty vehicles internationally. The HRN-GS16K2 contains the mounting adapters (see item link below) and the adapter plastic is numbered for easy reference.
Recommended Tools & Consumables
No Recommended Tools & Consumables specified.
Hardware & Accessories
-
-
Record serial number
-
Found above barcode on device label
-
-
-
Identify adapter required per vehicle for installation.
-
See here for identification
-
Install adapter onto T-harness connector
-
Slide metal clips into slots to fasten assembly
-
-
-
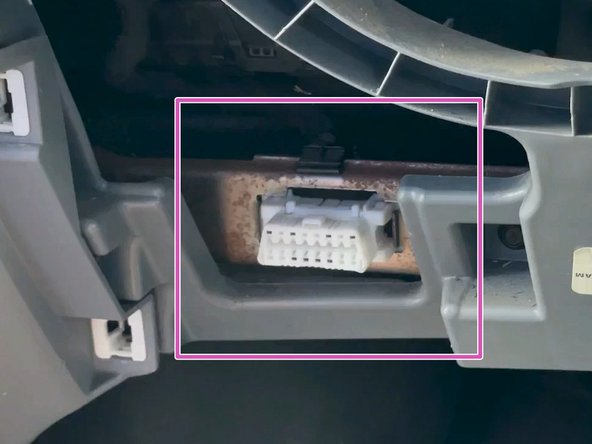
Locate the OEM OBDII connector
-
The OEM OBDII connector is typically found low on dash board out board of the steering wheel
-
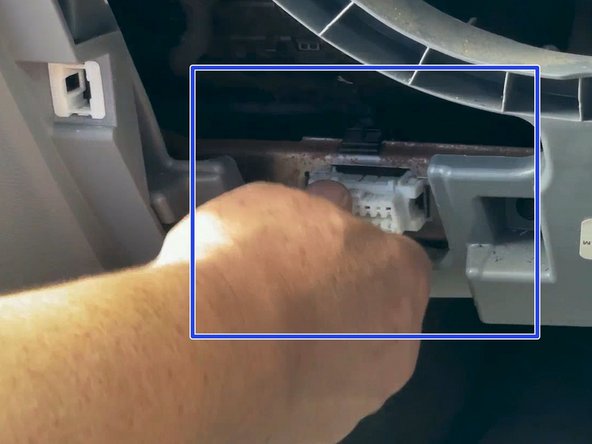
Remove the OBDII connector from its OEM location
-
-
-
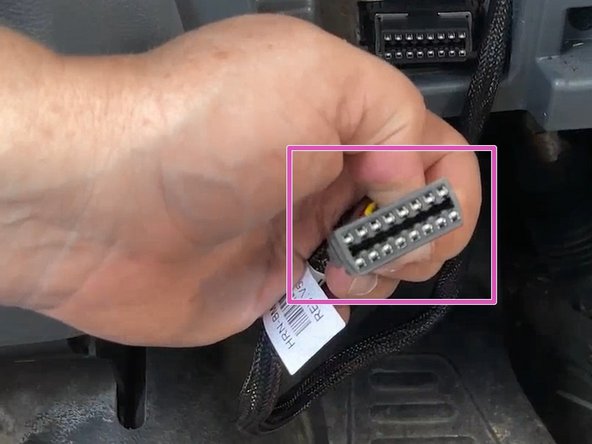
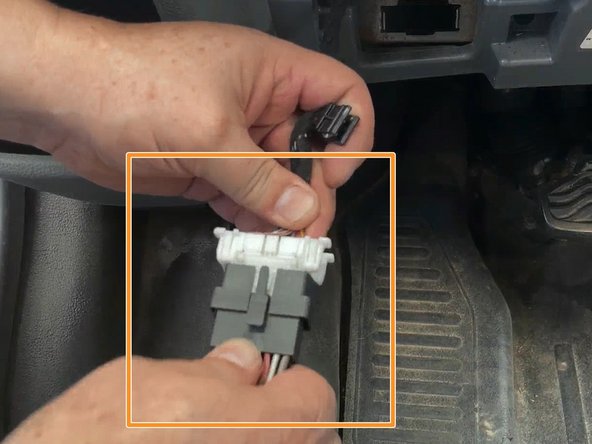
Plug the supplied Geotab T-harness into the vehicle OBDII connector
-
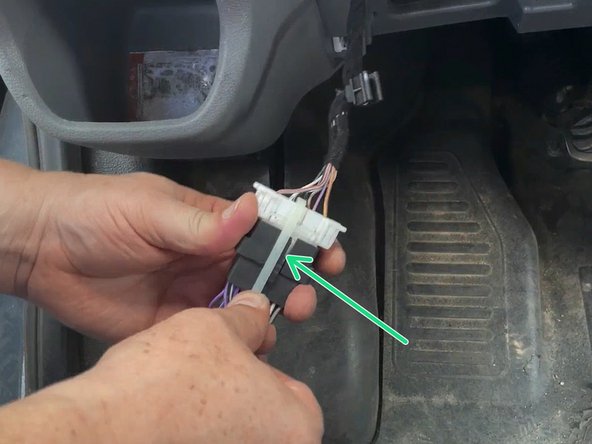
Secure connection with a cable tie
-
Trim excess cable tie
-
Cable ties should always be trimmed flush, leaving no sharp points or long tails.
-
-
-
Install the prepared T-harness connector from [invalid guide link] into the OEM location
-
-
-
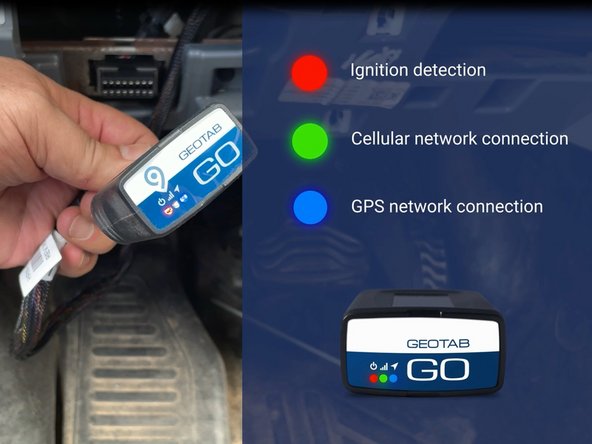
Plug device into remaining end of T-harness
-
Start Vehicle
-
Verify LED pattern
-
The device emits 2 quick beeps every 60 seconds during set-up. Once all three LEDs turn solid and you hear 10 quick beeps
-
Secure connection with cable tie
-
-
-
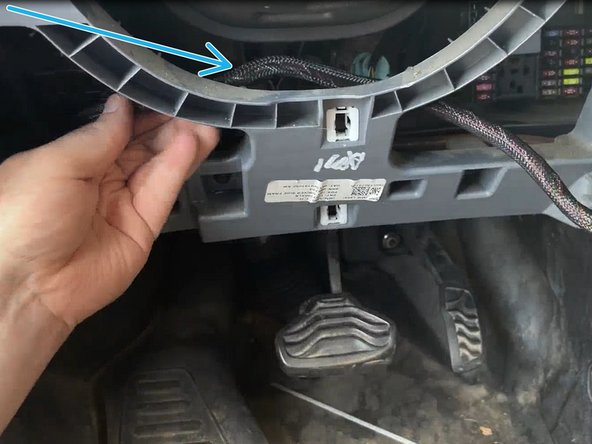
Route device and harness to mounting location as needed
-
Ensure cable does not interfere with any moving parts
-
Secure harness as needed with cable ties
-
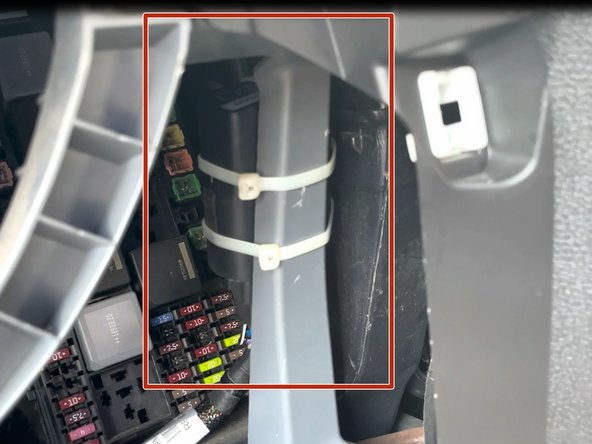
Secure device using 2 cable ties
-
To ensure reporting quality the device must be secured with no free movement!
-
Important Safety Information and Limitations of Use For the latest version of the Limitations of Use, please visit: goo.gl/k6Fp0w.
Important Safety Information and Limitations of Use For the latest version of the Limitations of Use, please visit: goo.gl/k6Fp0w.


![Install the prepared T-harness connector from [invalid guide link] into the OEM location](https://d3t0tbmlie281e.cloudfront.net/igi/geotab/gHulppWjIgAEsxWu.medium)
![Install the prepared T-harness connector from [invalid guide link] into the OEM location](https://d3t0tbmlie281e.cloudfront.net/igi/geotab/FmnSVUevndCSPWOb.medium)
