
-
-
The steps outlined in this guide are to assist with de-pinning and re-pinning the Geotab GO RUGGED. To learn how to de-pin and re-pin the Connector, follow the steps next
-
-
-
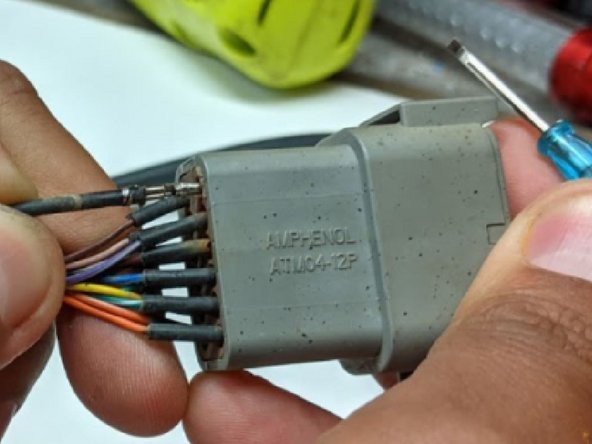
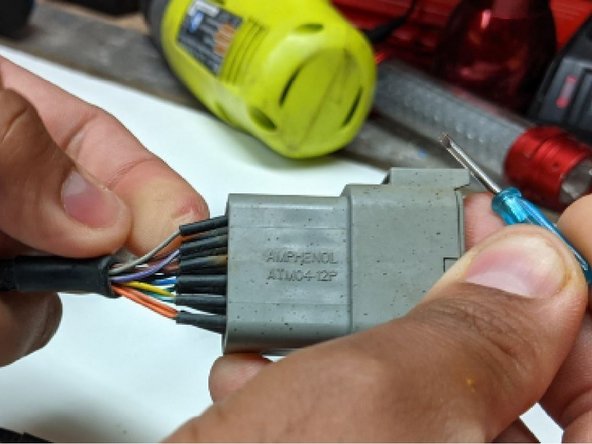
Take Connector 1 and remove the wedge lock
-
To do this, use needle nose pliers.
-
-
-
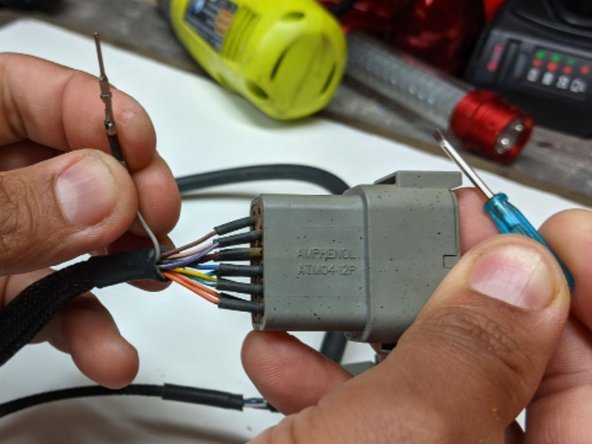
With the screwdriver provided, push down on each tab inside the Connector. This allows for the pin to unlock and slide out. Repeat this step for all the pins to completely de-pin the Connector
-
-
-
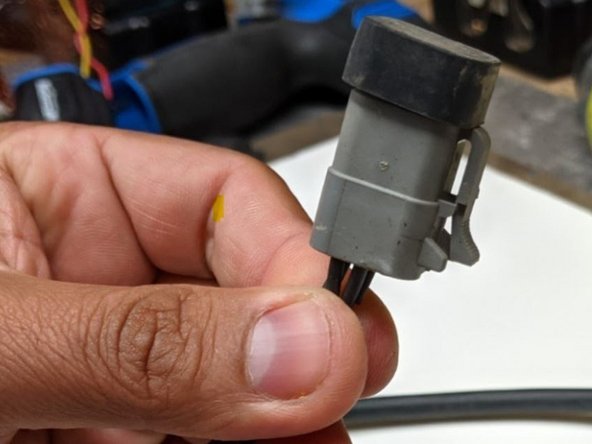
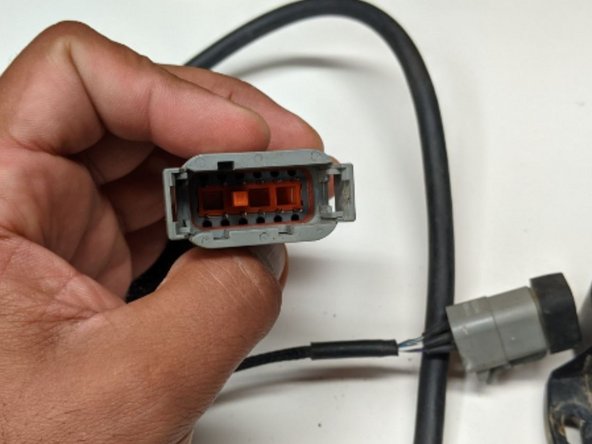
Repeat previous step for Connector 2 on the GO RUGGED Harness.
-
-
-
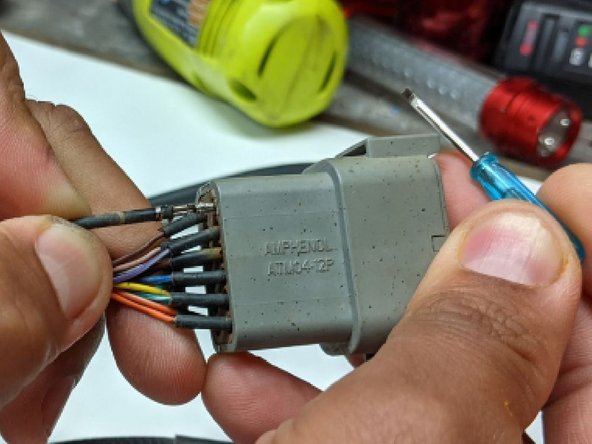
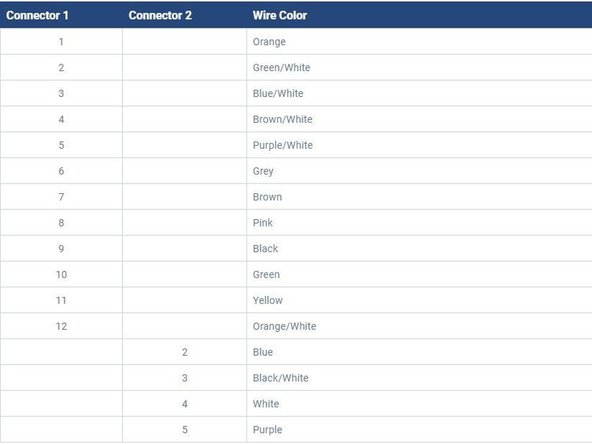
To re-pin, slide the pins back into their correct slots for both Connectors. Lightly tug on them to confirm they lock back in place
-
Use the Wiring Legend for reference.
-
-
-
The pin numbers are labeled on the Connectors.
-


Team

Authors: Field Service Install Member of Authors: Field Service Install
2 Members
10 Guides authored