Introduction
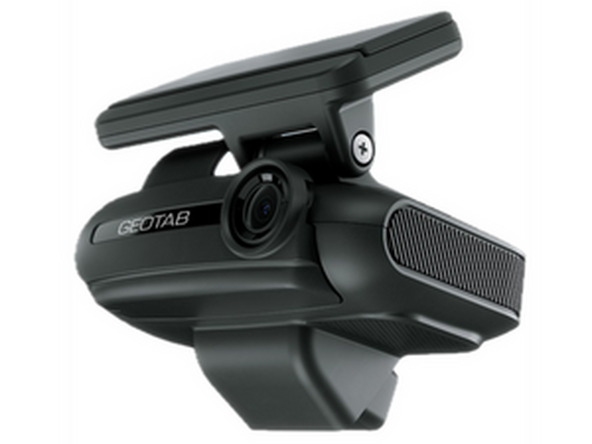
The GO Focus Pro is a dual-lens dashcam designed for fleets requiring advanced safety video telematics. It features road-facing and cabin-facing cameras with continuous AI inference for pre-collision warnings, red light detection, and pedestrian detection. The GO Focus Pro mounts to the windshield and connects to the vehicle via the HRN-IOXGFPRO-3W 3-wire harness, drawing ignition and constant power from the fuse panel.
When equipped with TVI auxiliary cameras, the GO Focus Pro provides full 360-degree video coverage around the vehicle, reducing blind spot incidents and enhancing driver awareness. All camera feeds are managed through the Geotab Video app and the Geotab fleet management platform.
-
-
Before installing the GO Focus Pro, download the Geotab Video app. Available on Apple App Store and Google Play Store.
-
Apple Geotab Video
-
Android Geotab Video
-
-
-
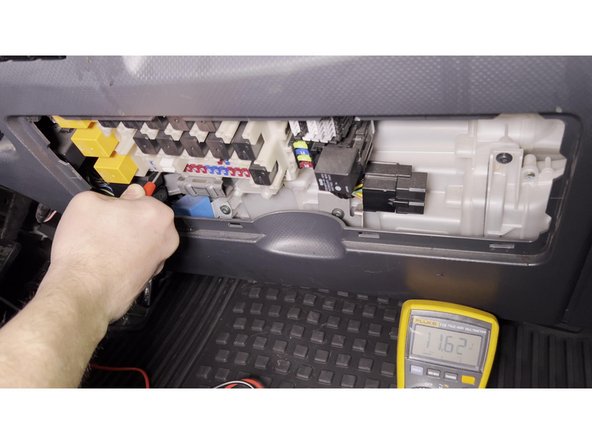
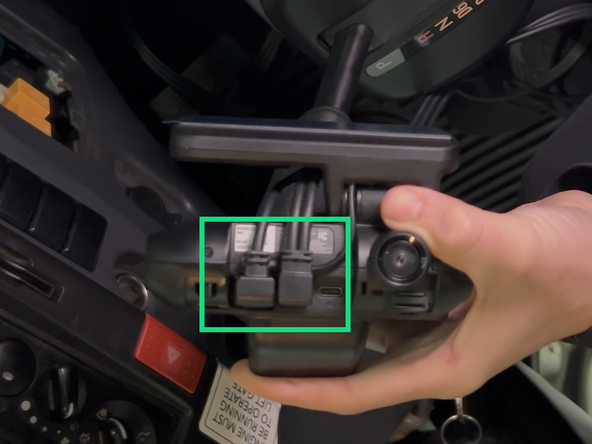
Using a multimeter, identify the constant battery power (B+) fuse slot and the ignition (ACC) fuse slot.
-
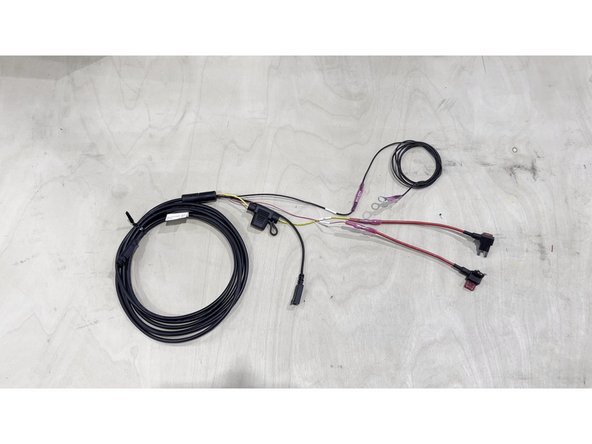
Temporarily connect the HRN-IOXGFPRO-3W 3-wire harness to the fusebox using fuse taps:
-
Red wire — ACC (ignition signal)
-
Yellow wire — Constant B+ (battery power)
-
Black wire — Ground (GND)
-
This temporary connection powers the camera for adjustment. The harness will be routed and secured permanently in a later step.
-
-
-
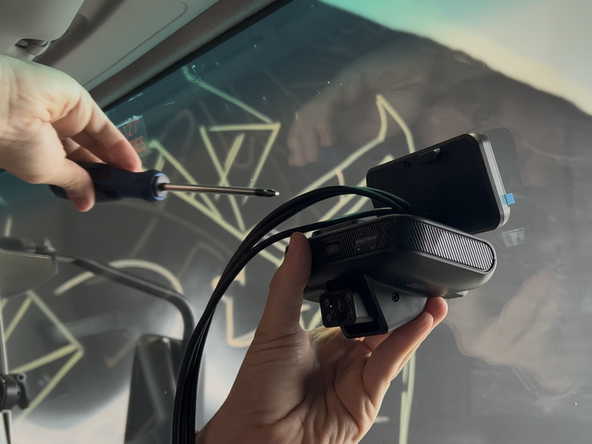
Pre-loosen the screws on the camera using the provided Allen key so you can adjust the camera angle.
-
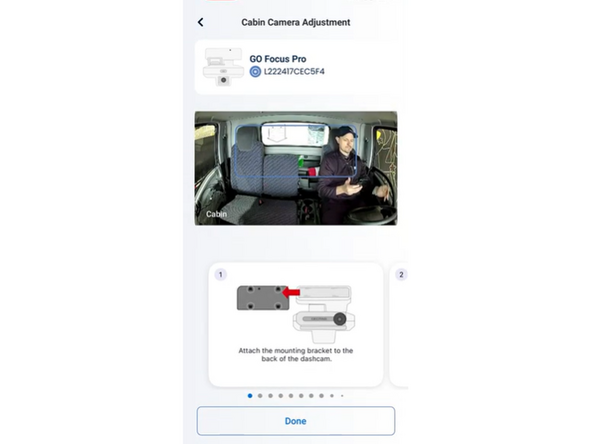
Install the mounting bracket to the back of the device.
-
Connect the 3-wire harness cable to the GO Focus Pro.
-
-
-
Turn on the vehicle and wait for the LED on the GO Focus Pro to go solid green.
-
-
-
Launch the Geotab Video app.
-
Select "Activate dashcam" and follow the prompts on screen.
-
The app will ask you to scan the serial number located on the GO Focus Pro box.
-
-
-
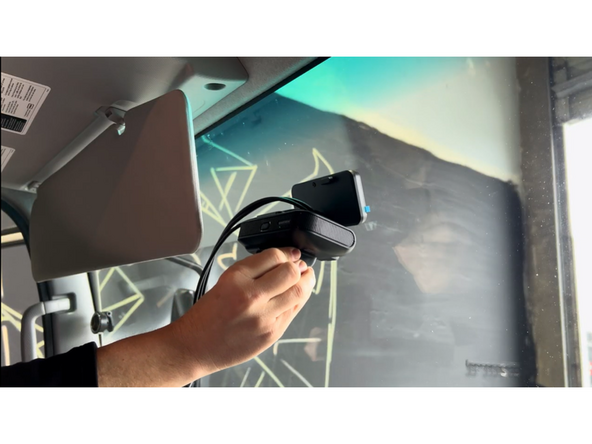
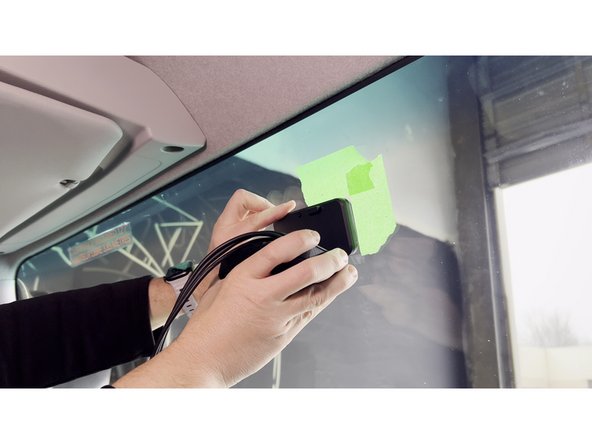
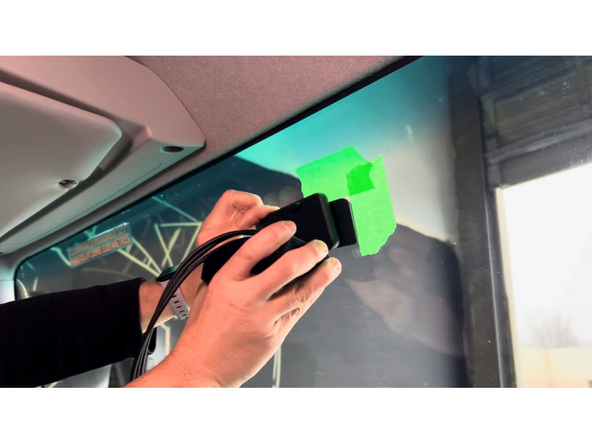
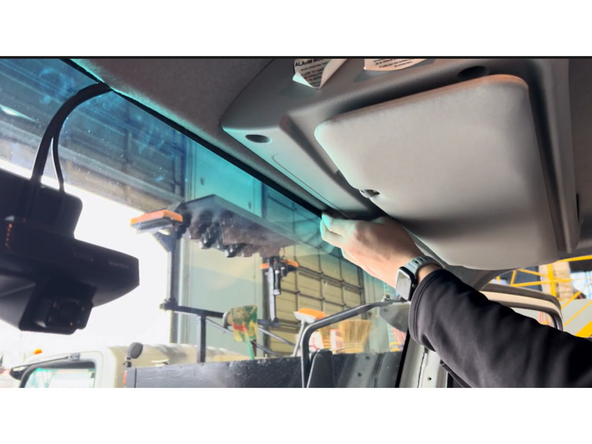
With the GO Focus Pro powered on and connected to the Geotab Video app, hold the camera in the desired mounting position on the windshield — within the wiper sweep area.
-
Use the app's live camera view to confirm the cabin and road camera angles look correct from this position.
-
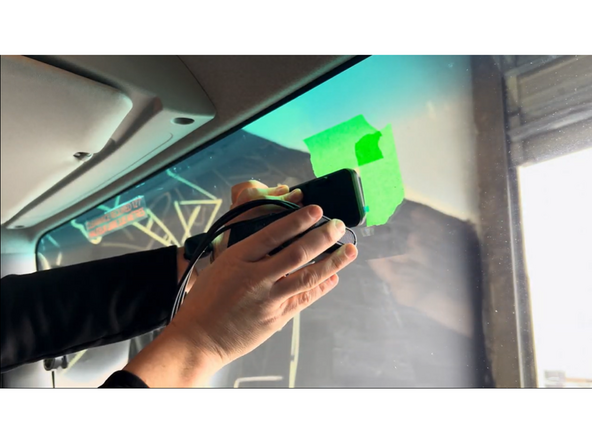
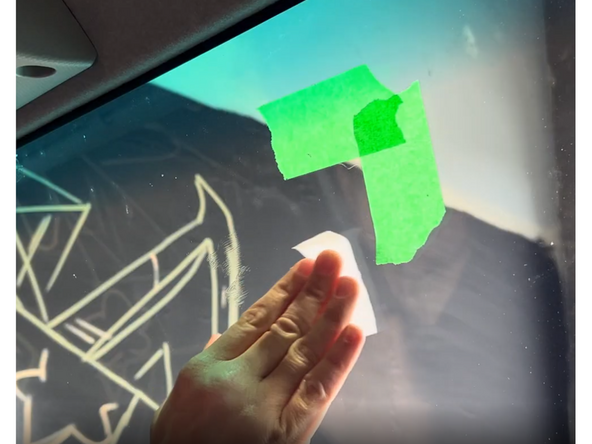
Once satisfied with the position, use masking tape to mark the perimeter of the mounting bracket on the windshield.
-
Verify sun visor does not block cabin facing camera when in the down positon.
-
-
-
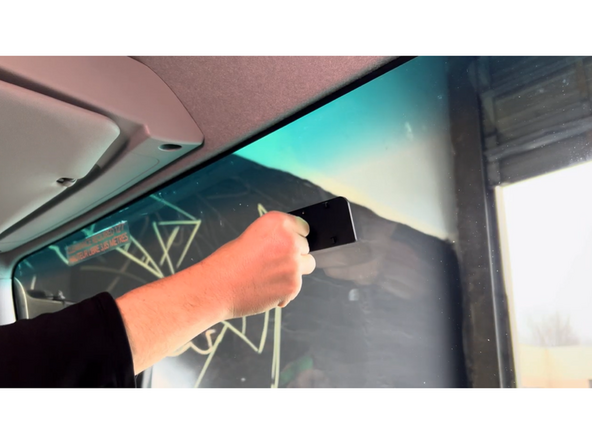
Use the provided alcohol wipe to thoroughly clean the mounting area on the windshield. Let the alcohol evaporate completely before proceeding.
-
Do not touch the cleaned area with bare hands — skin oils will reduce adhesion.
-
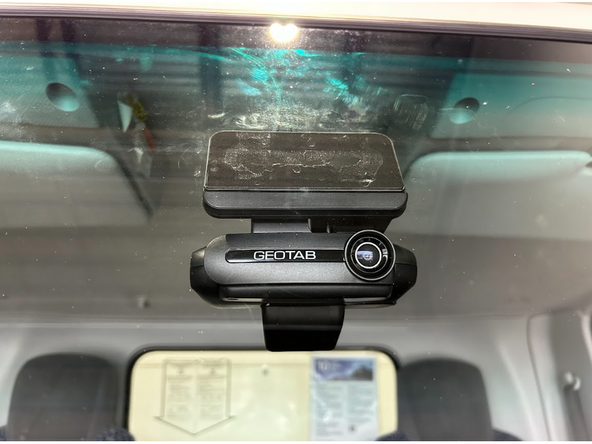
Remove the adhesive backing from the mounting bracket on the back of the camera.
-
Press the camera firmly onto the cleaned area of the windshield and hold with steady pressure for 30 seconds.
-
If the windshield is below 50°F (10°C), use the vehicle's defrost to warm the glass before mounting — cold glass significantly reduces adhesive bond strength.
-
-
-
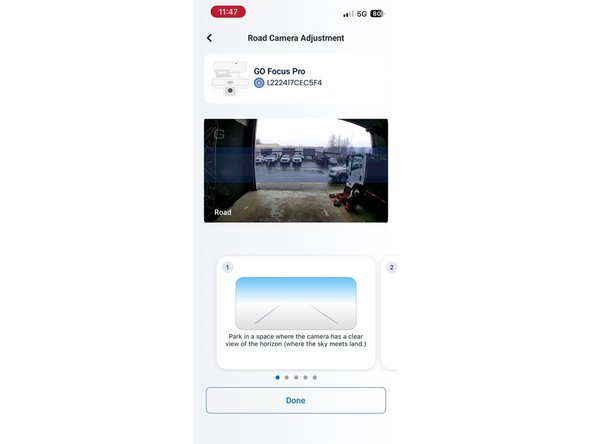
Select "Adjust" for the road-facing camera.
-
Adjust the camera so that the horizon is in the blue box.
-
-
-
In the app, select "Adjust" in the cabin section.
-
Adjust the physical camera so that the driver's head is sitting in the blue box.
-
Sit in a normal driving position when adjusting the cabin camera to ensure proper alignment.
-
-
-
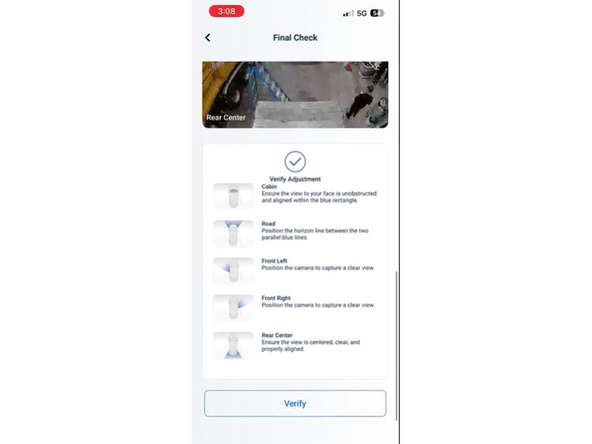
Once both camera angles are set, the app will ask you to verify and do a final check.
-
Select "Verify" and the verification is complete.
-
-
-
Dismount the camera from the mounting bracket.
-
Press the mounting bracket for an additional 30 seconds to ensure it is firmly in place.
-
Place the camera back on the mounting bracket.
-
-
-
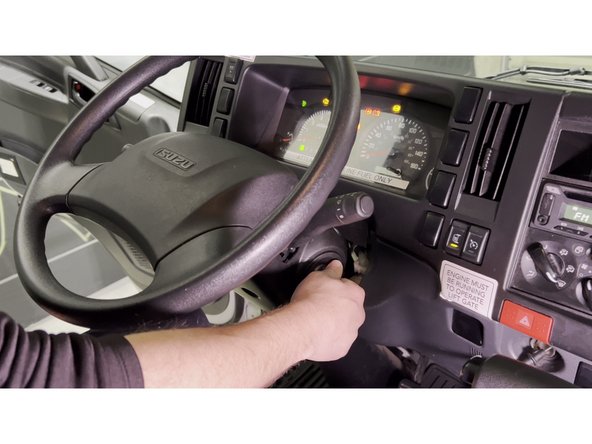
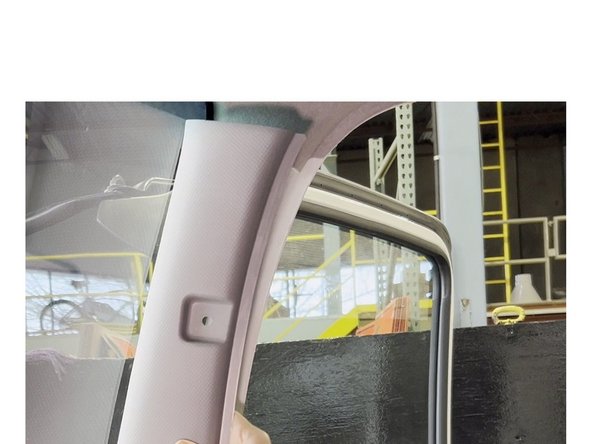
Carefully remove the cover for the driver's side A-pillar and any additional paneling required to route the harness.
-
Tuck the harness cable behind the headliner toward the A-pillar, ensuring it is not obstructing the driver's view.
-
Secure the cable along the A-pillar in a way that it does not obstruct the airbag functionality.
-
Use cable ties as required. Trim any excess tie.
-
-
-
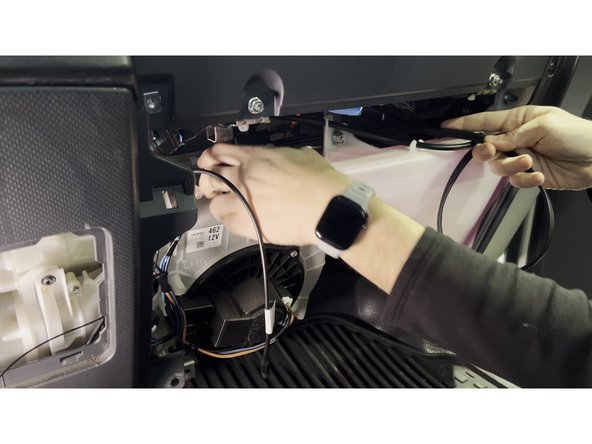
Route the harness cable from behind the headliner down to the fusebox.
-
Make the permanent fuse tap connections — Red (ACC), Yellow (B+), Black (GND).
-
Secure all wiring neatly behind the fusebox panel using cable ties. Trim any excess tie.
-