Introduction
This guide describes how to install a GO Anywhere Asset Tracker.
Recommended Tools & Consumables
Hardware & Accessories
Video Overview
-
-
Do not attempt to install, reconfigure or remove any product from a vehicle while the vehicle is in motion or otherwise in operation. All installation, configuration or removal must be done only in stationary vehicles which are securely parked.
-
Attempting to service devices while the vehicle is in motion could result in malfunctions or accidents, leading to death or serious personal injury.
-
-
-
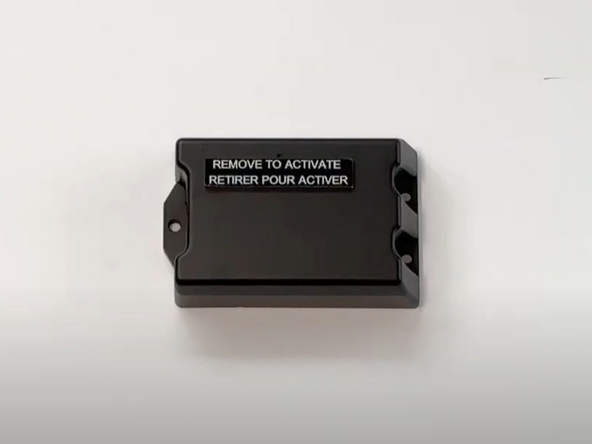
Activate the device by removing the magnetic strip.
-
When performing the activation, ensure the device has a clear line of sight to the sky. The activation process may take up to five minutes.
-
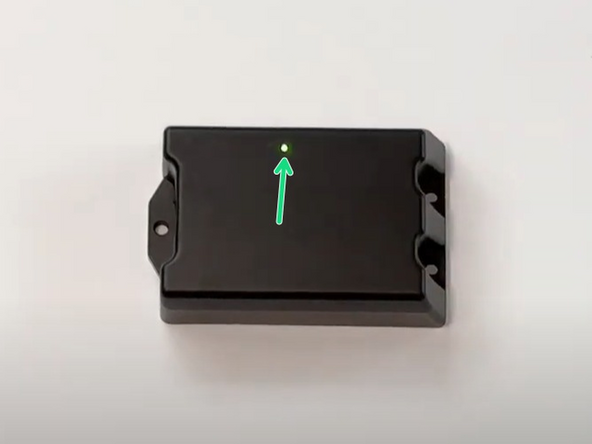
LED state - Flashing green.
-
Status - Activation in progress.
-
Action - Do not touch or move the device.
-
LED state - Solid green.
-
Status - Activation successful.
-
Action - Success. No action required.
-
-
-
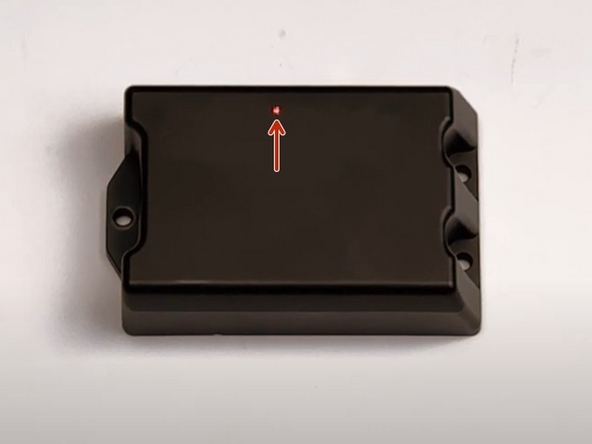
LED state - Flashing red.
-
Status - Activation failed.
-
Action - Contact support.
-
LED state - Solid red.
-
Status - Activation failed.
-
Action - Check temperature and cell network - then retry. (operating range -40 to +85 degrees celsius)
-
To attempt another activation, re-apply the magnetic strip below the LED (ensuring that you don't cover the LED). Leave the magnetic strip in place for at least 5 seconds and then remove it.
-
-
-
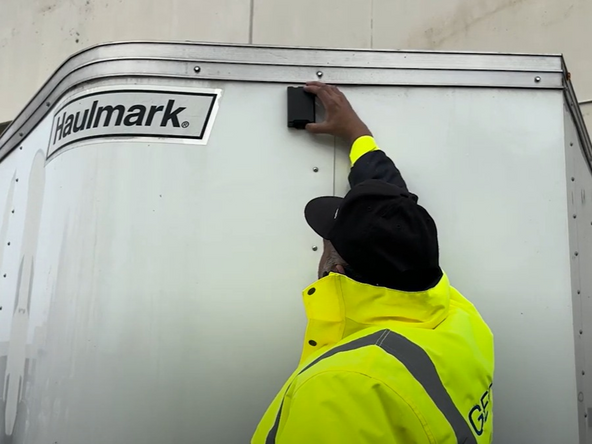
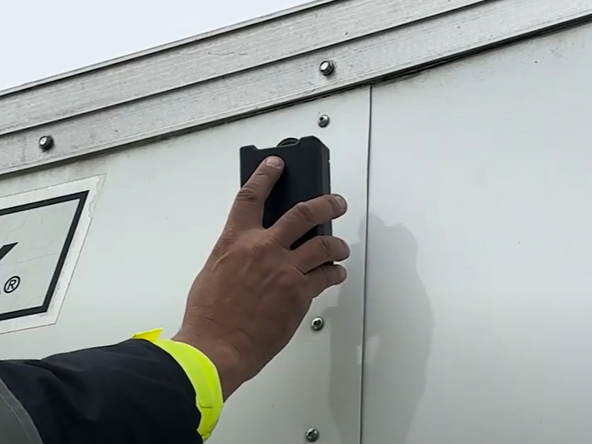
Find a suitable location to install the device on your asset.
-
The GO Anywhere must have optimal line of sight to the sky with no metal obstructions that interfere with the signal.
-
-
-
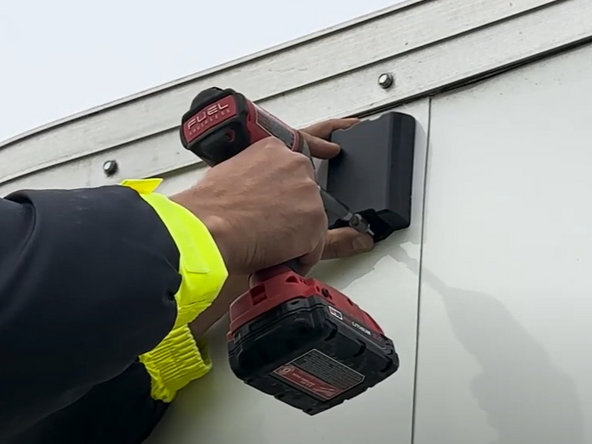
Secure the device by using 3 self tapping screws.
-
Before drilling, check behind the mounting location to ensure the area is clear of any obstructions or electrical wires/components.
-
-
-
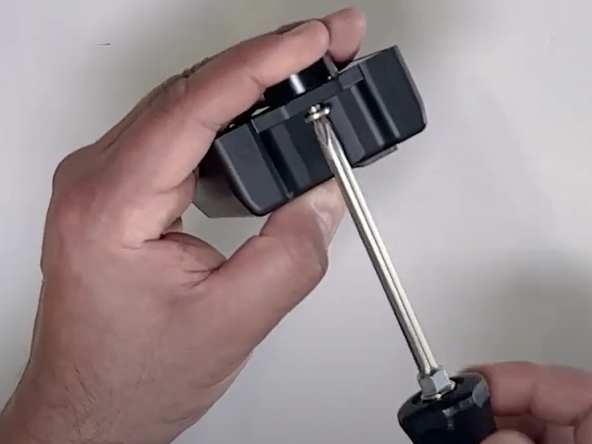
Fasten the 3 magnetic feet in place using the magnetic screws and install the magnet covers.
-
Once complete, install the device on your asset.
-
-
-
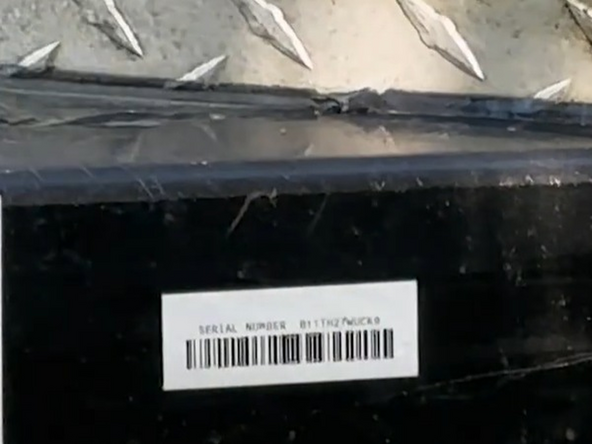
Place the serial number sticker in a suitable location for future reference
-