Recommended Tools & Consumables
Hardware & Accessories
-
-
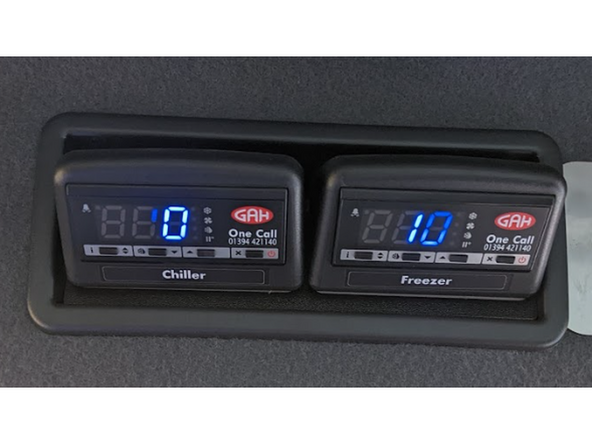
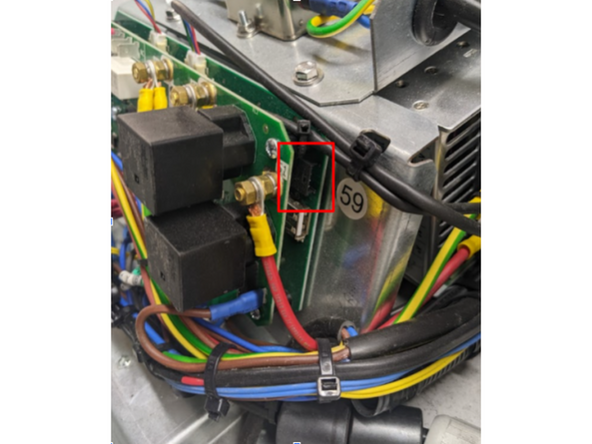
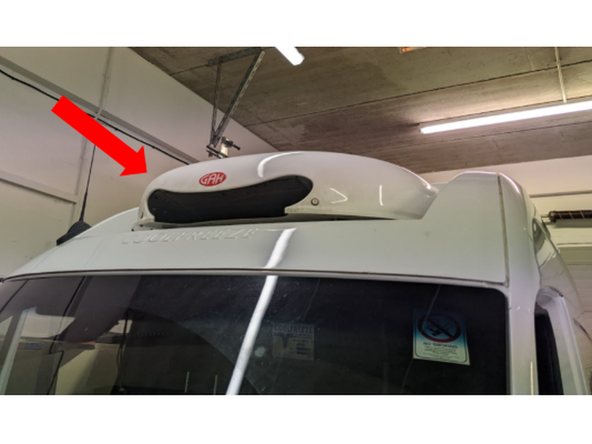
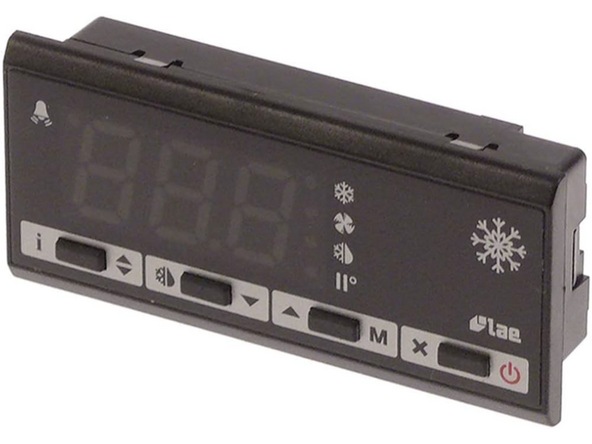
Find the controller located inside the vehicle cabin.
-
Note that some vehicles can have one or two similar LAE DU5S controllers.
-
If the in-cab controller is different from the one shown here, contact the Geotab Support team.
-
-
-
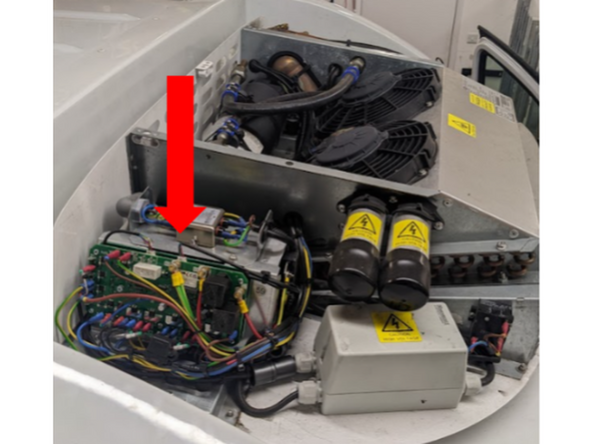
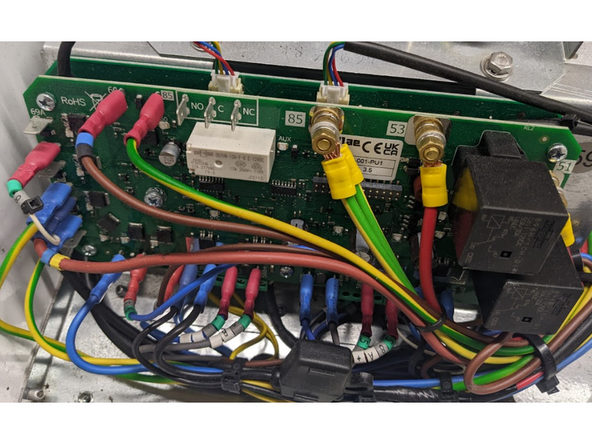
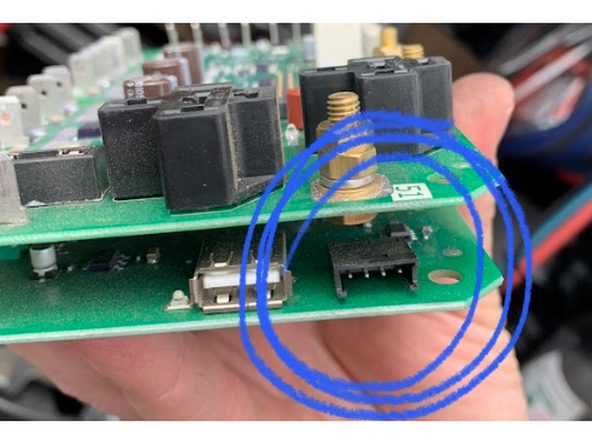
Locate the controller boards data connector.
-
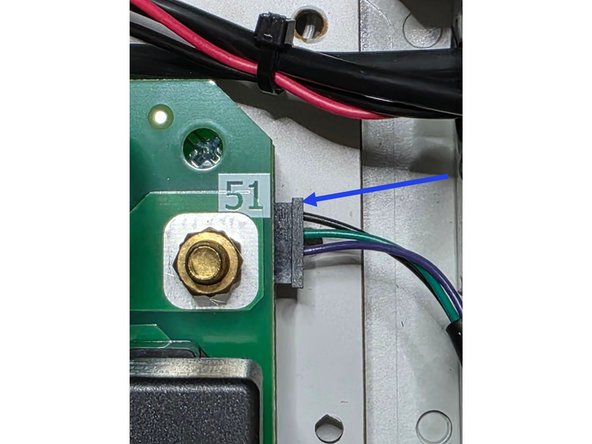
Connect harness HRN-CCLADU5 to the controller board’s data connector by routing it to the cold chain unit compartment.
-
! IMPORTANT : Because this requires routing the harness from the vehicle cabin's interior to its exterior, extreme care must be taken to ensure the vehicle's IP rating remains intact.
-
✱ NOTE : If something else is already plugged into the port , contact the Geotab S upport team .
-
-
-
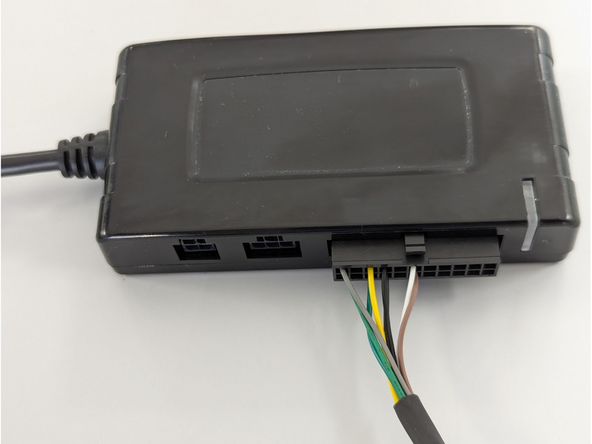
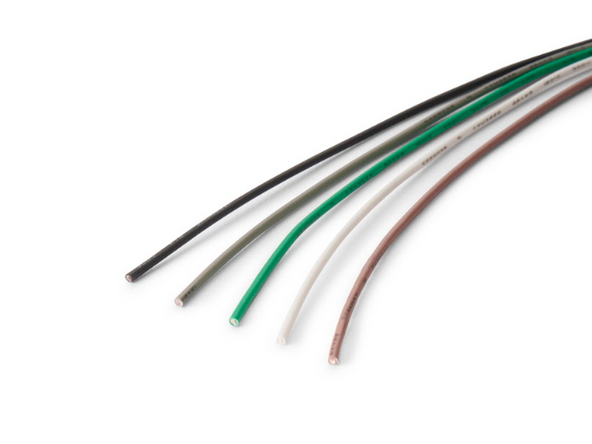
(Optional) The HRN-CCLADU5 includes extra wires that allow the IOX-COLD to be connected to additional accessory sensors such as 1- wire temperature sensors or door sensors.
-
Refer to the Accessories category for installation instructions.
-
Otherwise , proceed to the next step.
-
-
-
Once the HRN-CCLADU5 routing is done and any optional additional connections are completed, connect the IOX-COLD to the GO device by following the steps in the IOX-COLD Quick Start Guide.
-
Fix and secure the IOX-COLD, the GO device, and all connections, ensuring they do not interfere with any components or the architecture of the vehicle cabin.
-
-
-
Switch the vehicle ignition and the in-cab controller ON once the installation is complete to validate the installation.
-
! IMPORTANT: The use of the MyInstall tool is mandatory for every installation to correctly configure the IOX-COLD. If you do not do this, data will not be obtained correctly.
-
You need a secure MyAdmin login to use this tool. If you do not have one, refer to the Creating MyInstall Credentials section of the MyInstall user guide.
-
-
-
For more information please refer to this document.
-