Recommended Tools & Consumables
Hardware & Accessories
-
-
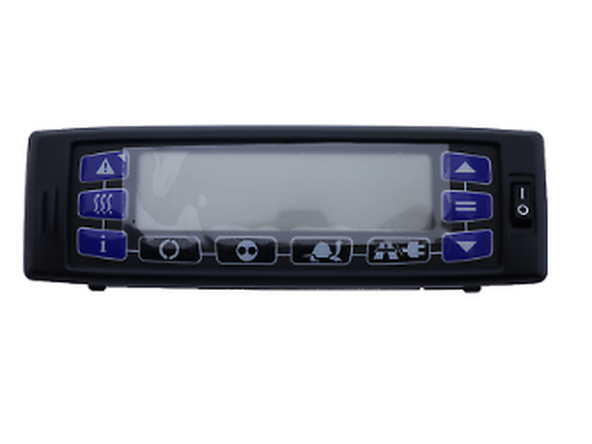
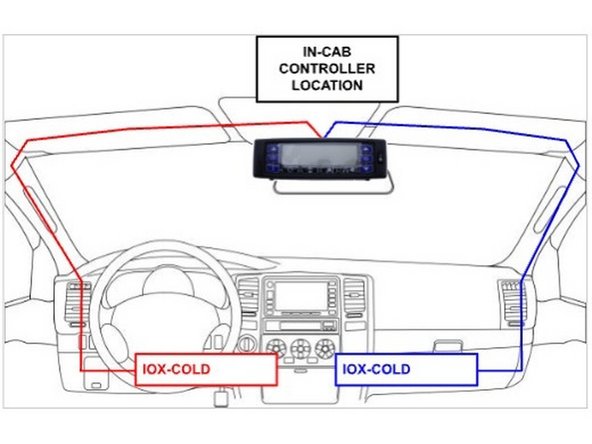
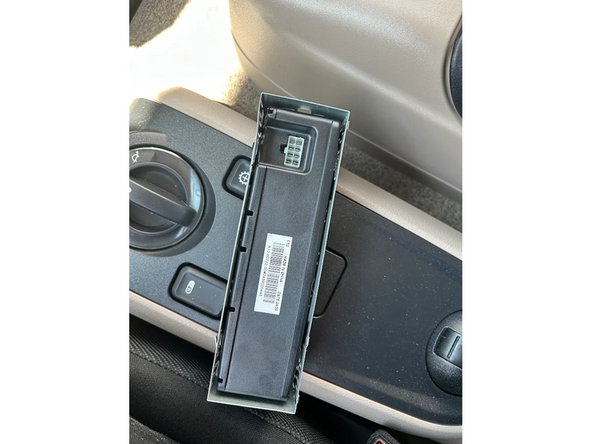
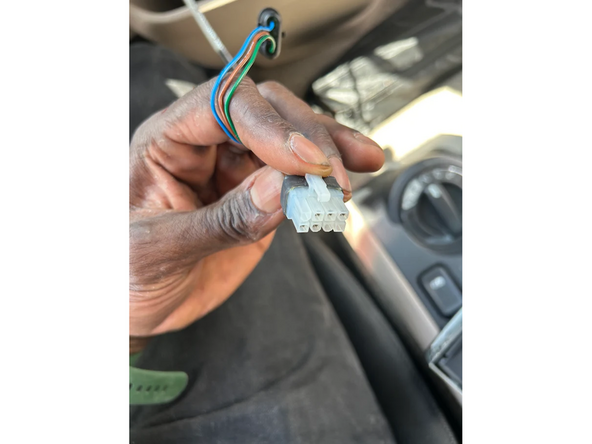
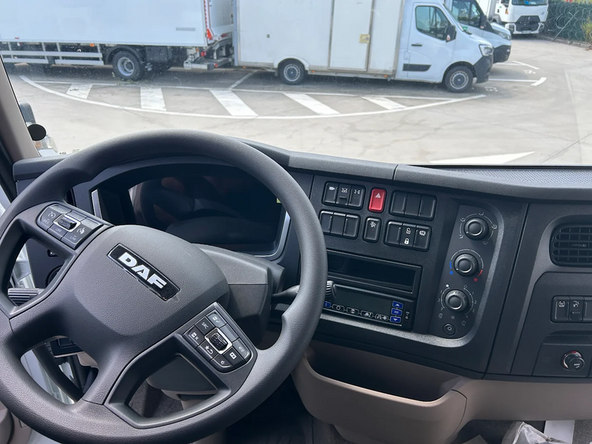
Find the in-cab controller located in the vehicle cabin and remove it from its mechanical support, if needed.
-
-
-
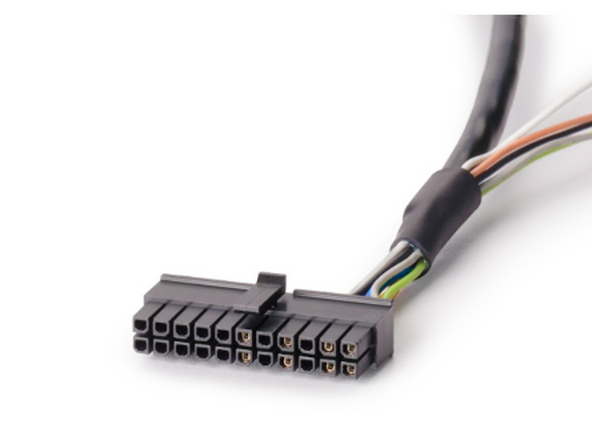
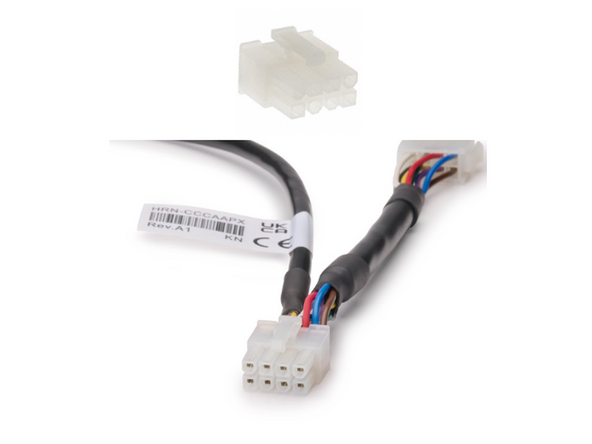
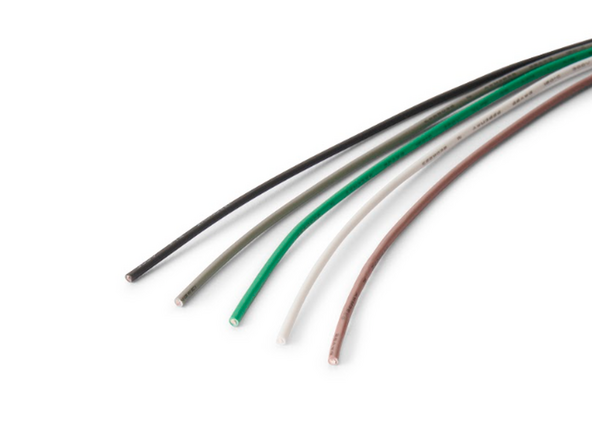
HRN-CCCAAPX contains loose wires which permit connecting the IOX-COLD to additional sensors such as 1-Wire temperature sensors or door sensors.
-
If these installations are required Click Here. Otherwise, go to the next step.
-
Once the HRN-CCCAAPX routing and connections are completed, and all needed connections are achieved with the IOX-COLD, follow the steps to connect it to the GO Device outlined in the quick start guide, which can be found here: gtb.link/ioxcold
-
-
-
Switch the vehicle ignition and the in-cab controller ON once the installation is complete to validate the installation.
-
! IMPORTANT: The use of the complete MyInstall tool is mandatory for every installation to correctly configure the IOX-UREADER or IOX-COLD. If you do not do this, data will not be obtained correctly.
-
You need a secure MyAdmin login to use this tool. If you do not have one, refer to the Creating MyInstall Credentials section of the MyInstall user guide.
-
-
-
For more information please refer to this link.
-